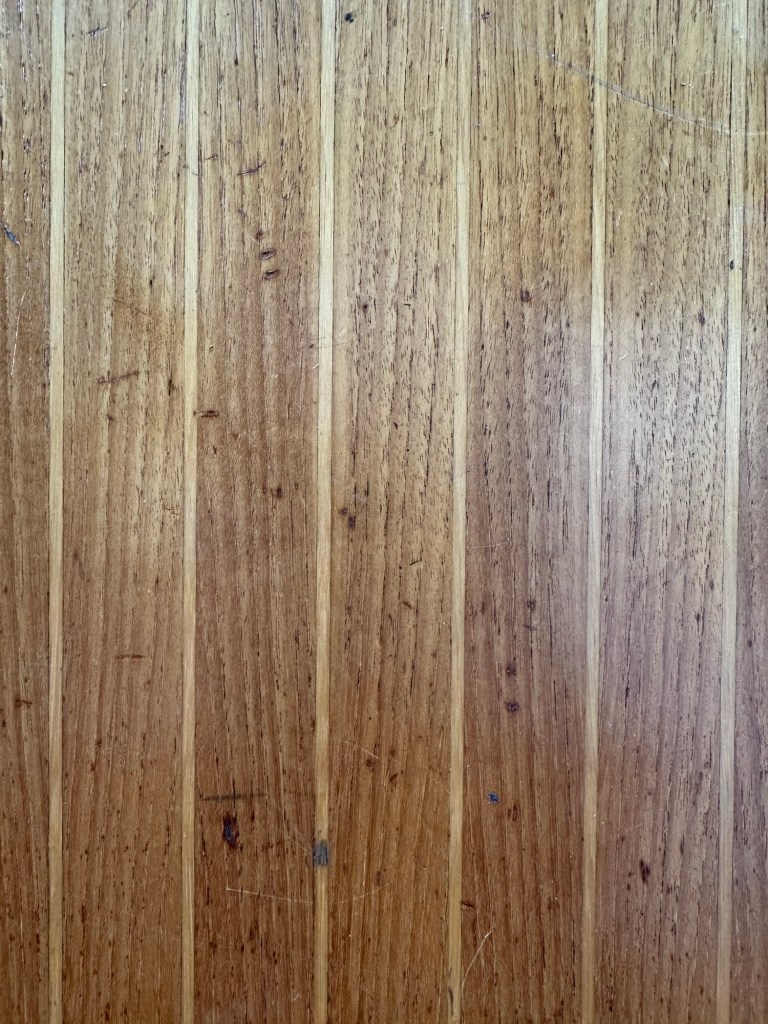
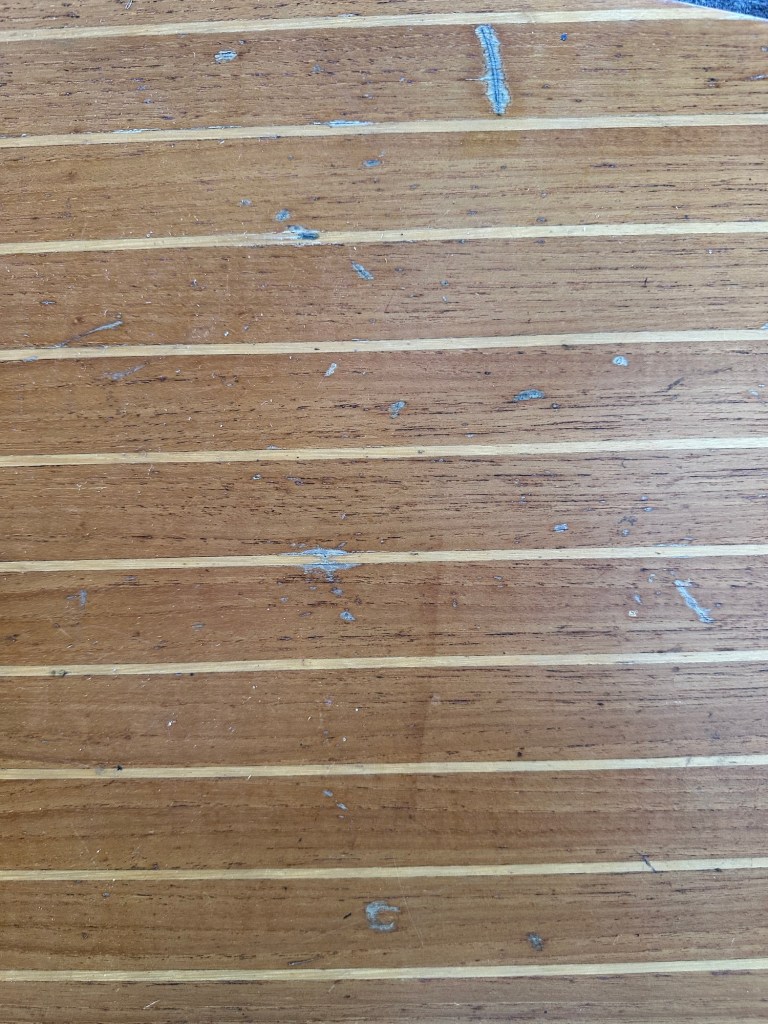
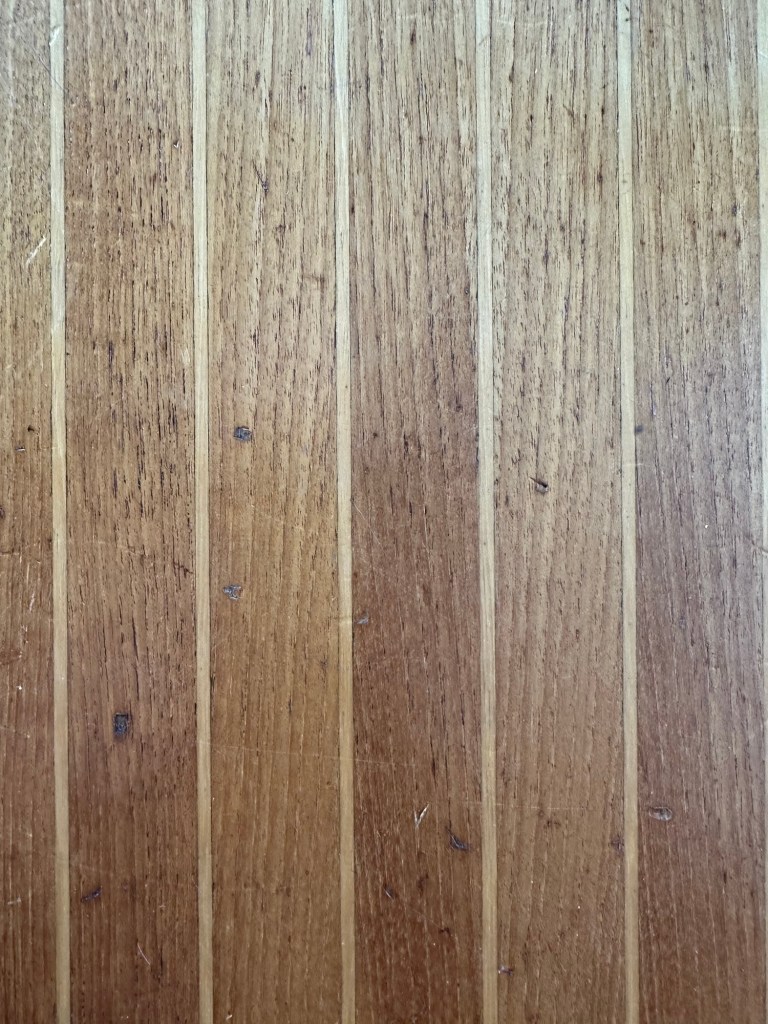
I didn’t think the floorboards in the sailboat looked all that bad. Not for a vintage vessel from 1977. They were acceptable. Or so I thought.
I made the mistake of using acetone to remove the glue from the back of one of the floorboards that covers the area above the propeller shaft. My goal was to put a new sound barrier on the back of that board. Much to my disappointment, the acetone bled onto the front side of the board and removed some of the varnish. It looked terrible. Something had to be done.
I contacted a local woodworker who said that he was disappointed to inform me that this was a do it yourself project because of the time involved. He did not feel it would be worth paying someone to do the job.
I watched a lot of videos on YouTube pertaining to stripping sanding, varnishing, and final finish of these boards. Most said about the same thing, but there were subtle differences in recommendations from one “expert“ to another.
Jim Linderman, a local master mariner, who is also for all intents and purposes, a boat builder, did some minor teak repair on the vessel. He was very kind to discuss his recommendations regarding the project that I had in mind. He even loaned me a few things to get started.
At first, the process was daunting. It was also very time-consuming. My original intent was just to do one board, but it looked so good that I decided to do them all. I had to learn to work with the heat gun. I tried various stripping compounds. Ultimately, I resorted to sanding as the way to remove the old varnish. I had to be careful because these boards are plywood with the thin veneer of teak and holly on the top. I didn’t want to go through that layer.
Then, I had to learn the proper ways to apply varnish, layer after layer, until a total of about eight layers, on average, was applied to each board. Each layer had an increasing proportion of varnish relative to thinner and a fluid to improve flow. I had to learn the proper way to sand in between layers so that subsequent layers adhere properly.
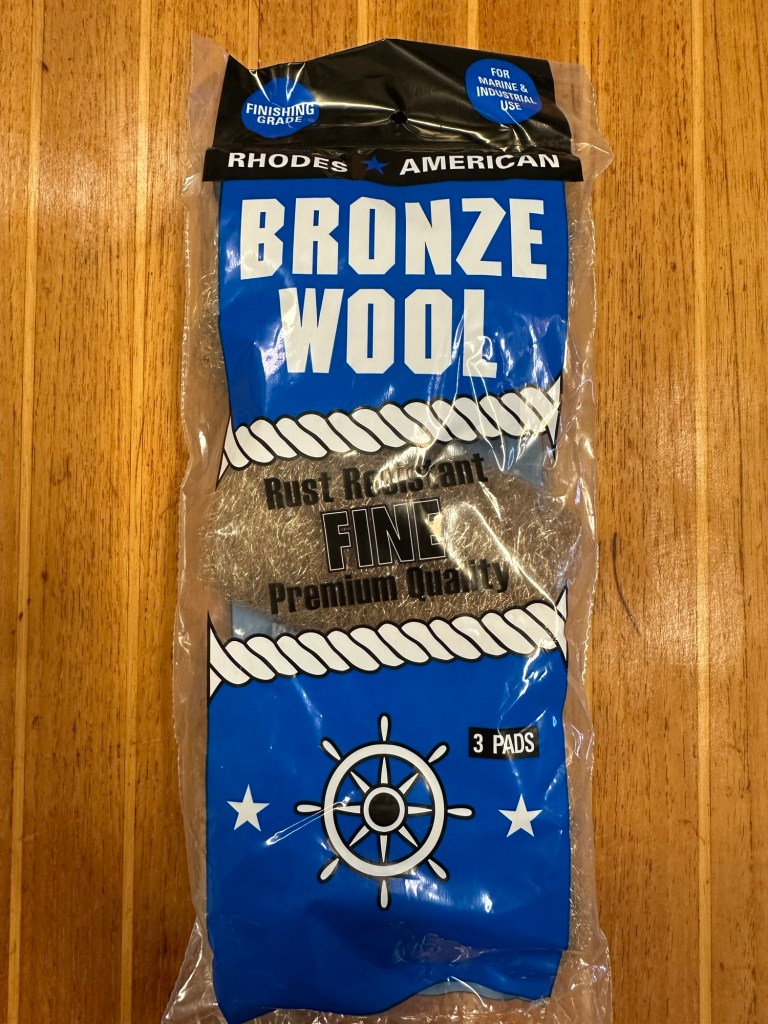
After I was satisfied with the finish, I burnished each board with bronze wool.
I tended to favor initial layers of varnish with gloss varnish and subsequent layers with rubbed effect varnish.
I also painted the back of each board with an epoxy bilge paint to keep out water and other substances. There was some evidence of prior water damage on the backs of a few boards. I cleaned each thoroughly before painting. This was the slowest step in the process as each board required a week for the epoxy paint to dry.
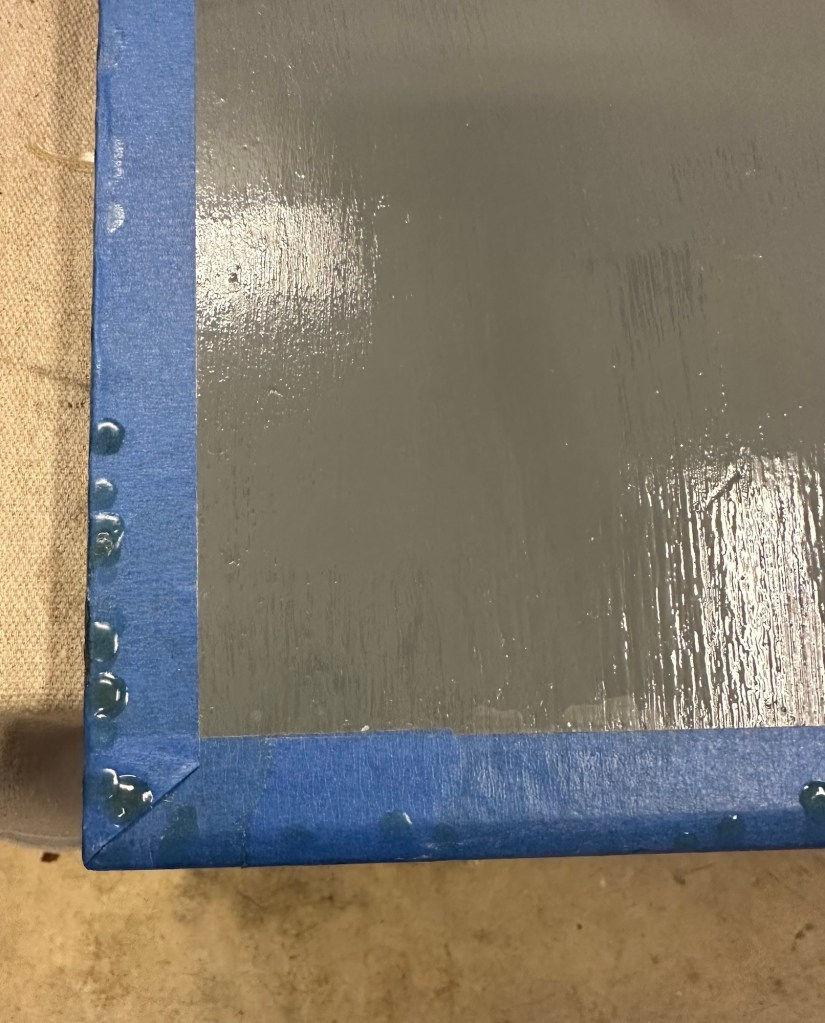
I taped the top of each board so I could paint the backs. When the paint was dry I taped the sides and an inch of the underside edges so I could proceed with the multiple layers of varnish.
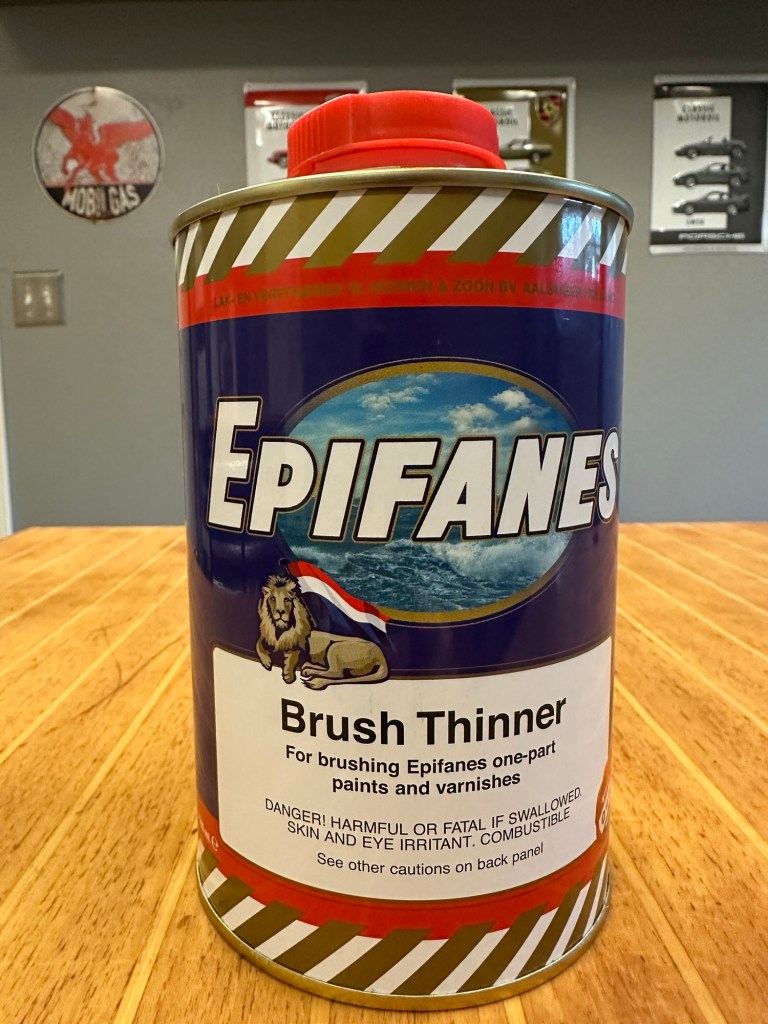
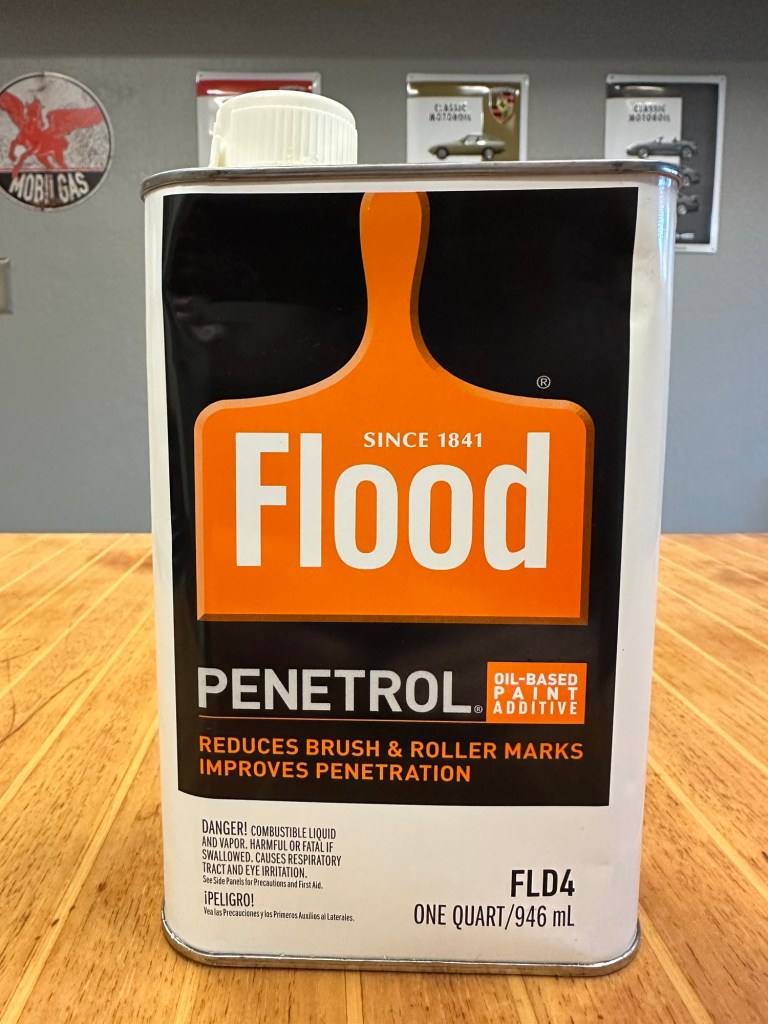
The successive layers of varnish involved increasing the varnish to thinner/penetrol as follows: 5/95, 10/90, 25/75, 50/50, 75/25, 90/10, then 95/5 for two to four layers as needed.
I definitely learned a lot through this process, and I feel that I became fairly proficient towards the end. I do believe the boards needed this tender loving care. Unfortunately, however, in some areas the dings were too deep, and there were so many scratches, so I had to accept the fact that some of the boards were going to look a little aged.
One of the things I learned is that, no matter how much effort is taken to control the environment, dust is everywhere! It’s impossible to have a board without a dust particle, lint, etc. one must simply do his best.
I worked on one or more boards every single day for three and a half months. I would estimate that I spent at least 75 hours or more on the project not including board removal and the installation (that will take place later this month).
During the process, I refurbished the triangular box behind the companionway ladder. I also varnished some new woodwork that will replace existing in the area of the navigation station.


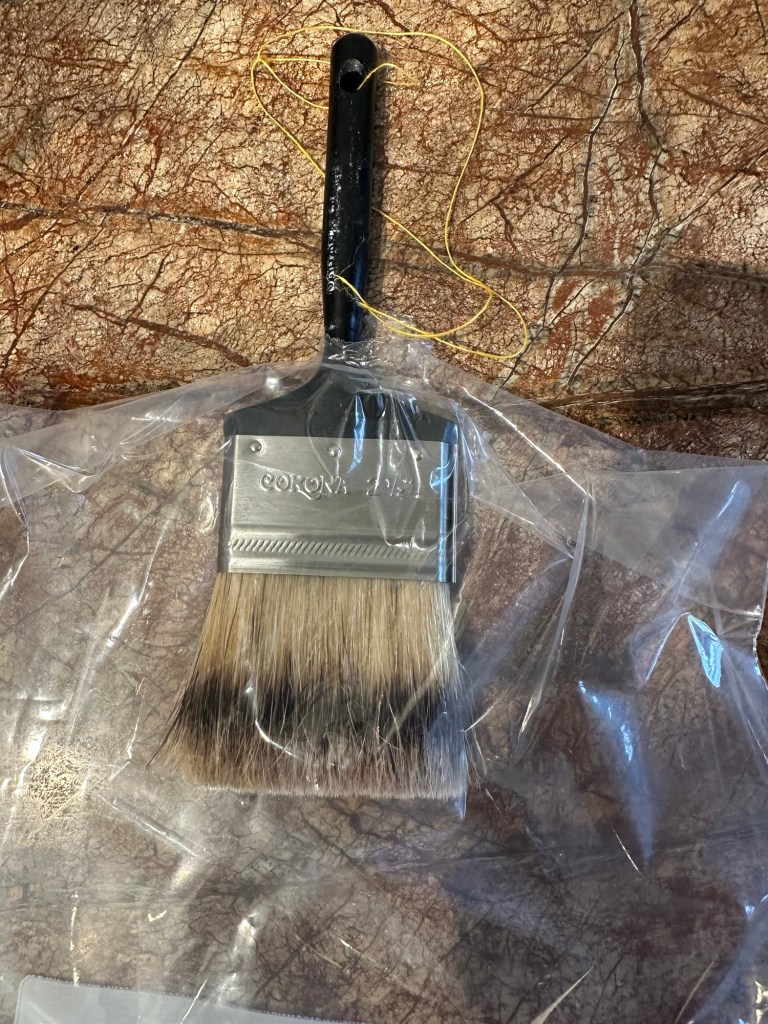
I used badger brushes to apply varnish. I went through three brushes during the process of varnishing all the boat parts mentioned.
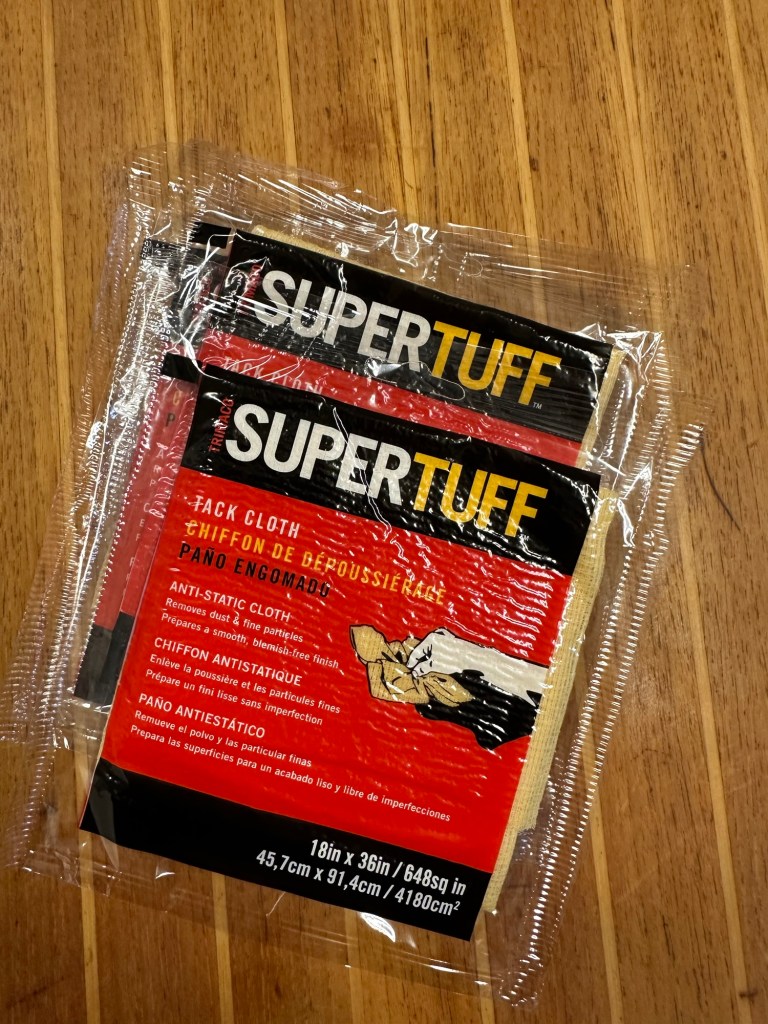
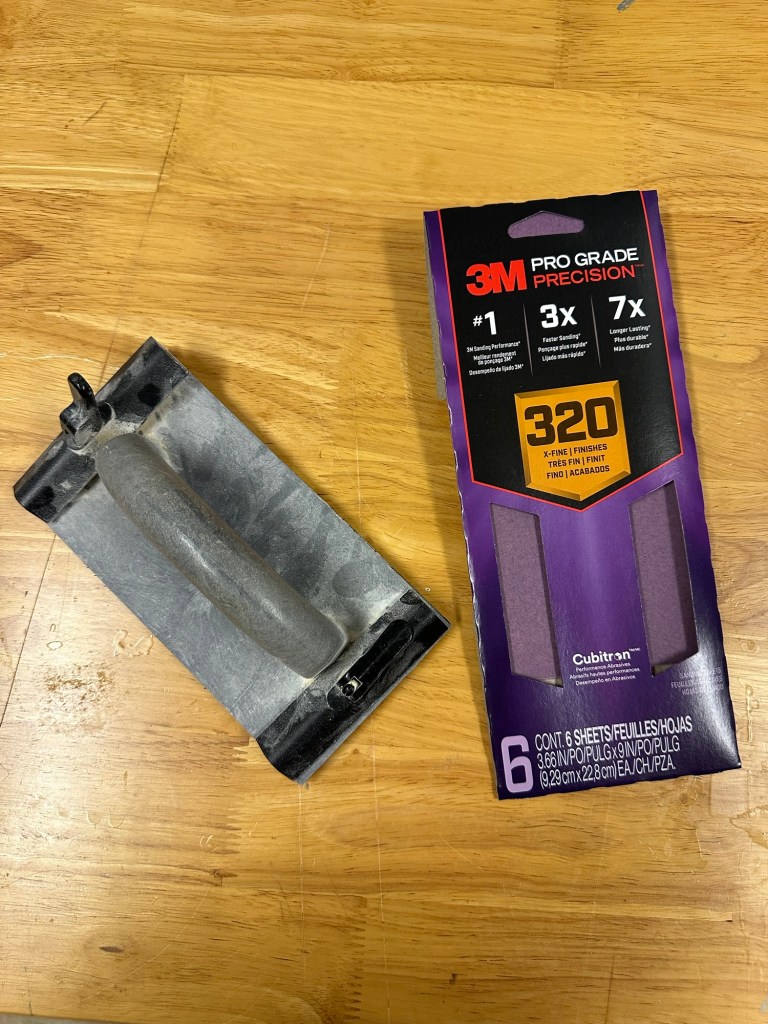
Most of the supplies can be purchased at retailers including West Marine, Home Depot, and Ace Hardware in the US. Some of these can also be found on line shopping at Amazon.
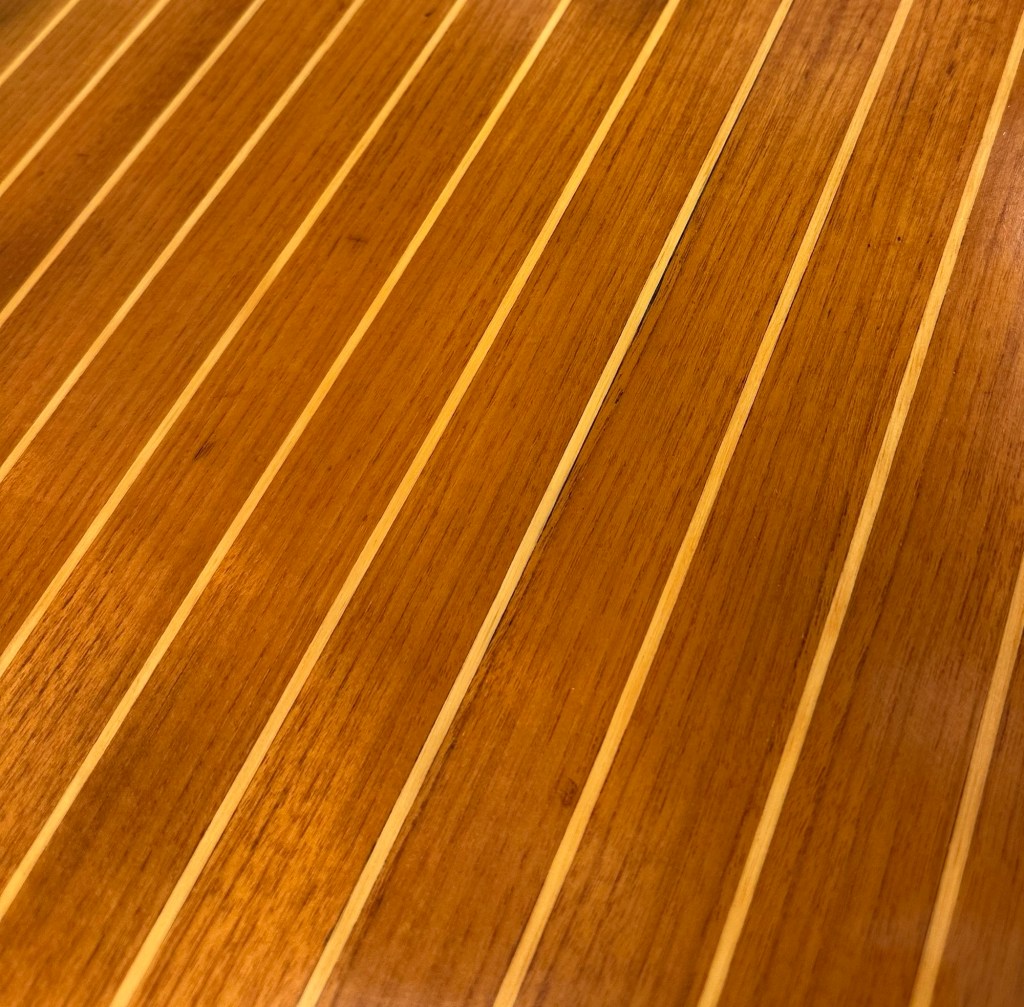
Here are a few photos before refurbishing.


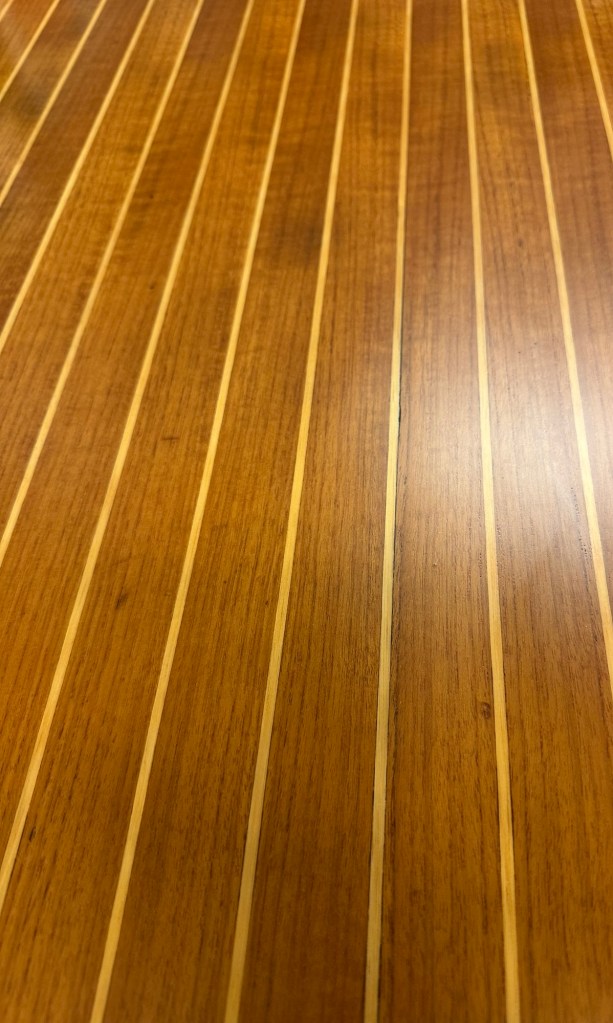
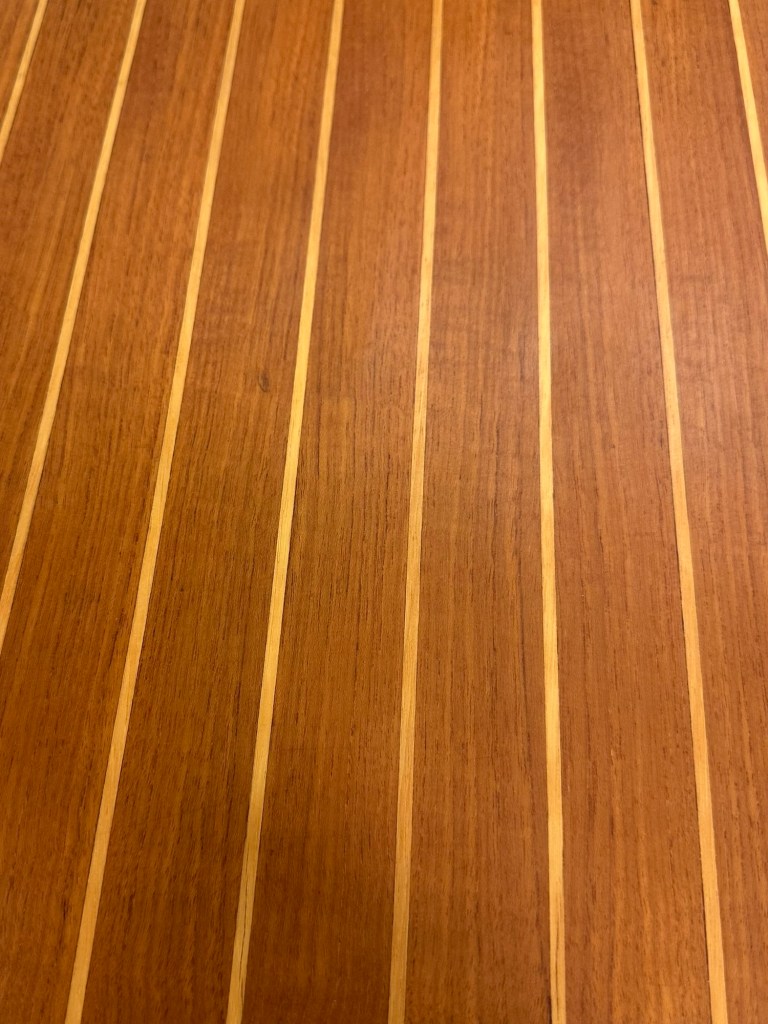
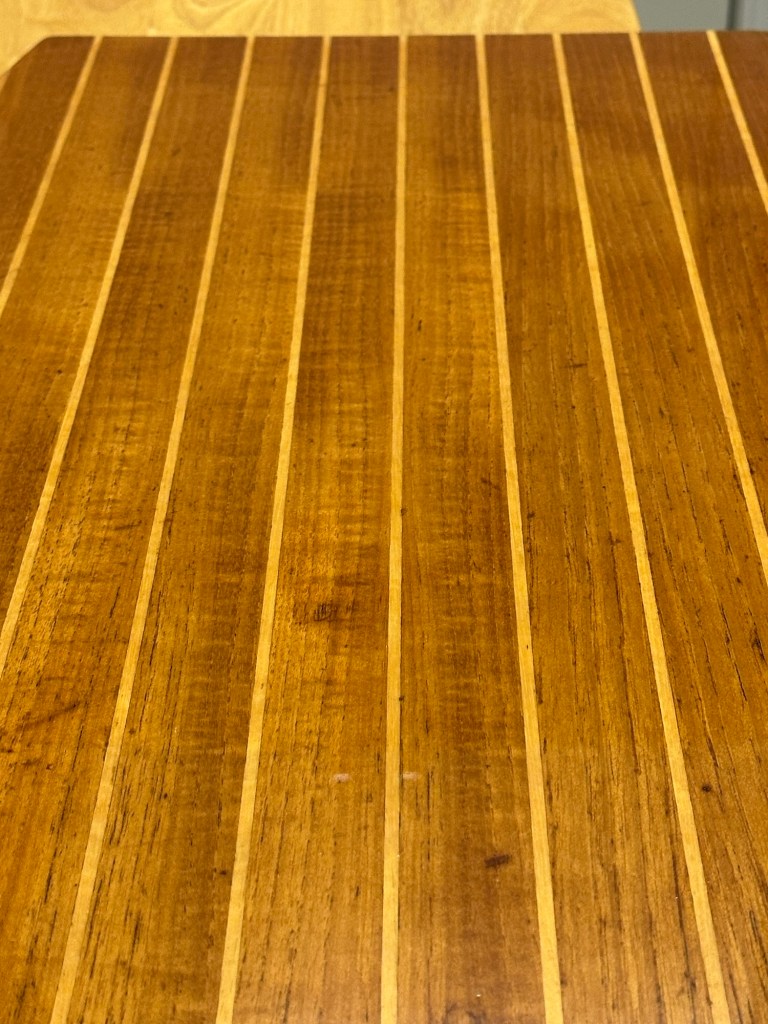
Here are a few photos after the process.

Here is a photograph of the epoxy paint on the back of the boards. One can see the importance of taping the edges and backside to catch the varnish overruns.
That’s it. Reach out if you have questions.

