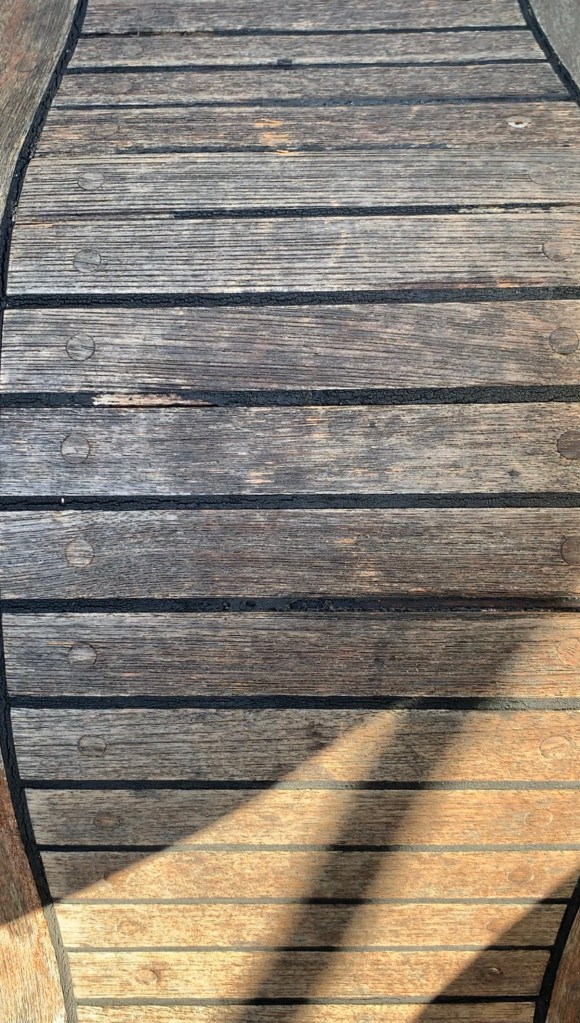
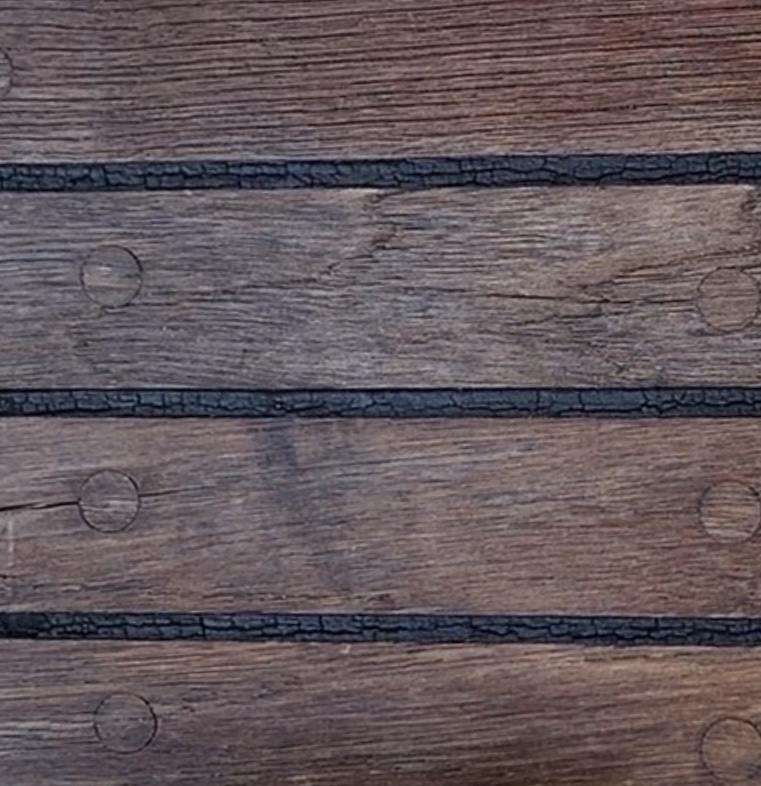
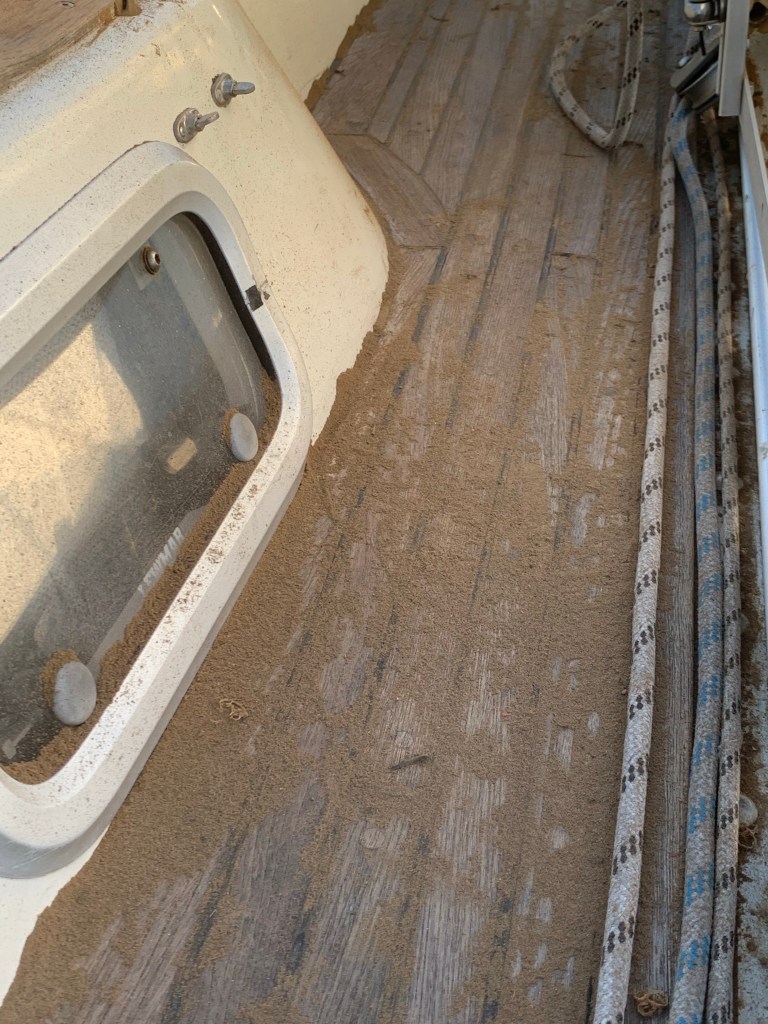
Towards the end of the summer 2019 I noticed that the caulking between some of the teak slats on Skiron was starting to deteriorate. Push came to shove when I began to notice that black goo was not only getting on my clothes but also on the clothes of those who were joining me on my boat.
I did my research and determined that I probably should hire this job out to someone with experience. However, I was astounded at the anticipated costs. It was estimated that it would cost $15,000-$17,000 just to do the teak in and around the cockpit alone! Back to the Internet. I watched several YouTube videos illustrating several variations on the theme of a recommended approach to refurbishing teak. I didn’t have any of the proper tools to accomplish the job….$1200 later I was set! I purchased a number of items including a rotary sander, a small triangular sander, a caulking gun, reefing knives, box cutters, lots of tape, and, of course the black caulking that is preferred on sailboats with teak. It’s rather expensive stuff!
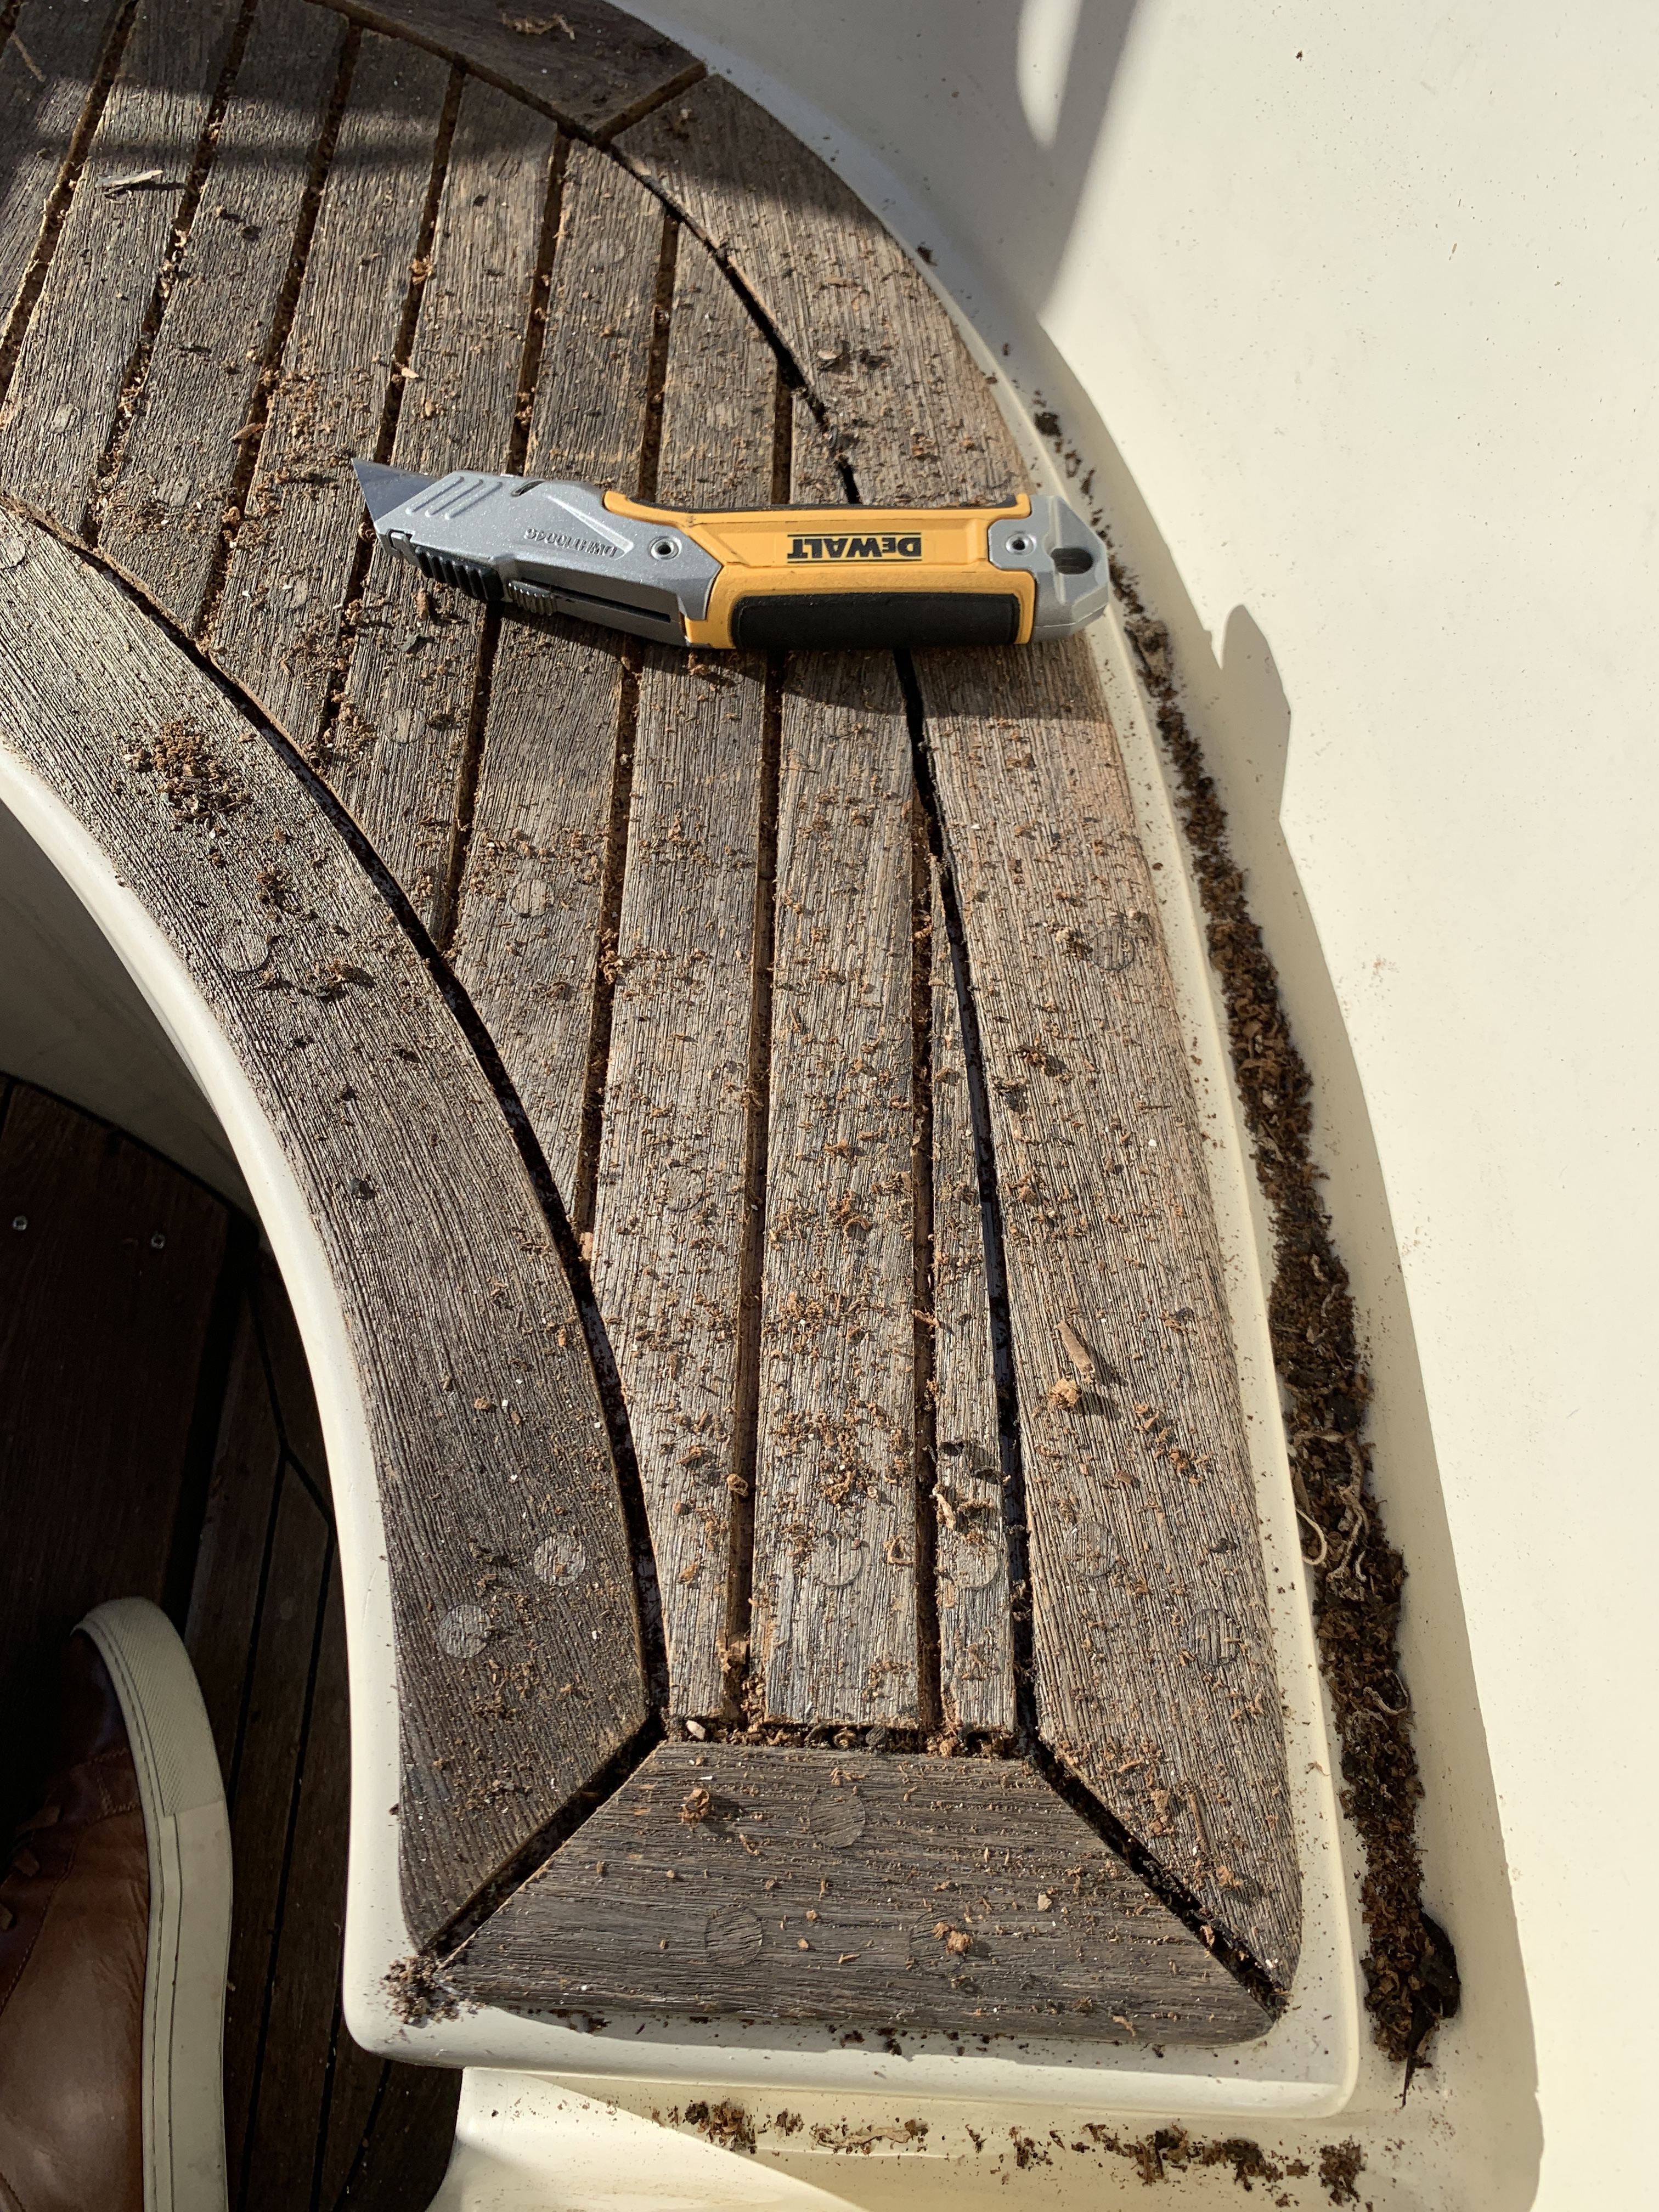
I learned that it’s probably best to lightly sand the teak being prepared to be refurbished as this diminishes the number of splinters that one will encounter during the process of removing the old caulking. I employed the rotary sander just to take enough wood off to clean up what would be edges of the grooves once the caulk had been removed. Next, a flat blade screwdriver is used to separate the caulk from both edges of the groove. This requires firm steady pressure literally pushing the blade of the screwdriver along the inside edge of the teak in order to separate the caulk from the wood. Sometimes, I would use the reefing knife to facilitate this process and then I would try to pick out the “spaghetti strings“ of caulk. It fragments fairly easy so there is a lot of picking required to remove the bulk of caulk from the teak. After the bulk of caulk was removed, the reefing knife is used, and pulled fairly aggressively at an angle to clean out as much caulk from the groove as is possible. When you think you’re done….you’re not. This work is very meticulous and one has to inspect very closely to ensure that every bit of the rubber caulking material has been removed or the new caulk will not adhere to the teak as well as you might prefer. Sometimes, I would have to cut out slices, especially around corners and bends, with a box cutter blade. Lastly, one must sand out remaining caulk from the groove using sandpaper. I didn’t find the sander made for this purpose to be very efficient but it was able to accomplish the job. The next stage in preparation for caulking involves taking the rotary sander and sanding down the teak to the point of having good sharp edges on the grooves. Lastly, I reinspected the grooves to ensure that all the caulking had been removed and cleaned with acetone, vacuumed up all of the dust and particulate matter, and allowed the teak to dry in preparation for the next phase…..caulking.


Next, I meticulously taped off the edges of the teak so that I do not get caulk on the sanded surfaces. Basically, I left the grooves open and prepped for the actual caulking. I found this to be meticulous work but very well worth my time.
Then, I applied the caulk using a caulking gun. This takes a lot of practice. It is also yet another meticulous part of the journey. The tip of the tube of caulk has to be cut just right, inserted into the groove just right, and the gun pulled backwards as the trigger is squeezed to deliver the caulk into the groove as you pull in the desired direction. It is essential to avoid air bubbles. This is particularly difficult at intersections of grooves. Next, I took a putty knife and pulled it a long each groove pressing the caulk deeper to fill any voids. Of course, as a result, caulk is going to be all over the tape. This is a much more desirable situation than having it all over the nice teak.
The caulk is left to dry for a variable period of time depending on humidity and temperature. In October, when I was accomplishing this project, I found that somewhere between 45 minutes to an hour and a half was about right. The next difficulty in this job is using the tip of a small screwdriver or some other device to catch the tape, under the caulk, and then to lift the caulk-covered tape off the wood surfaces without disturbing the caulk in the actual grooves. I would have to say this is the most frustrating part of the job for me.

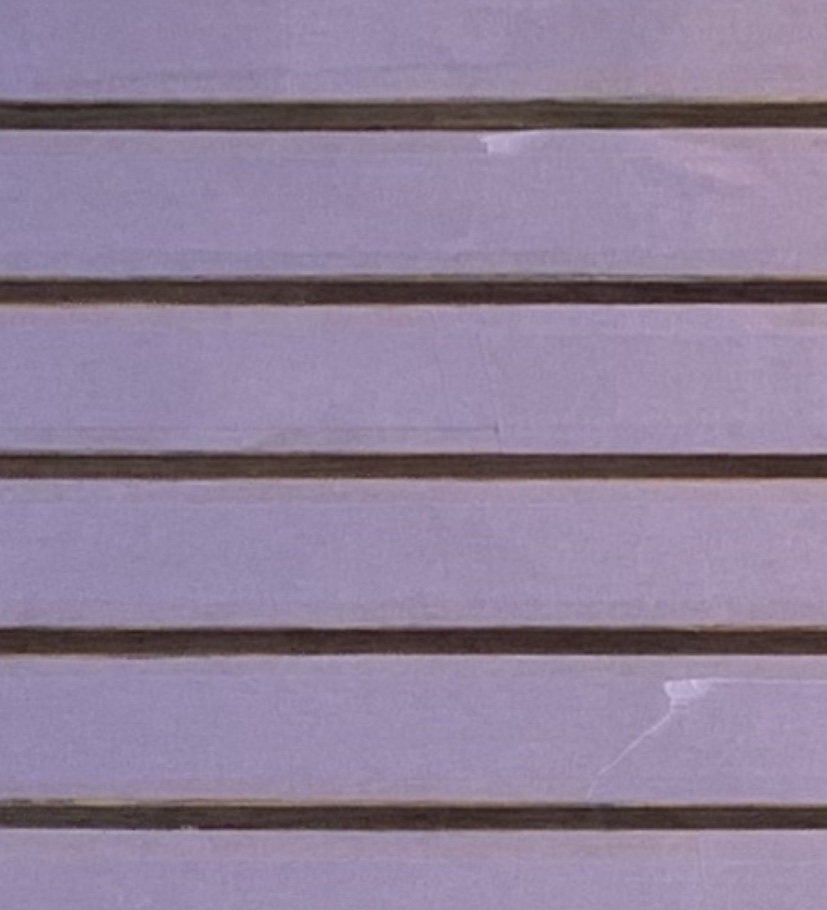
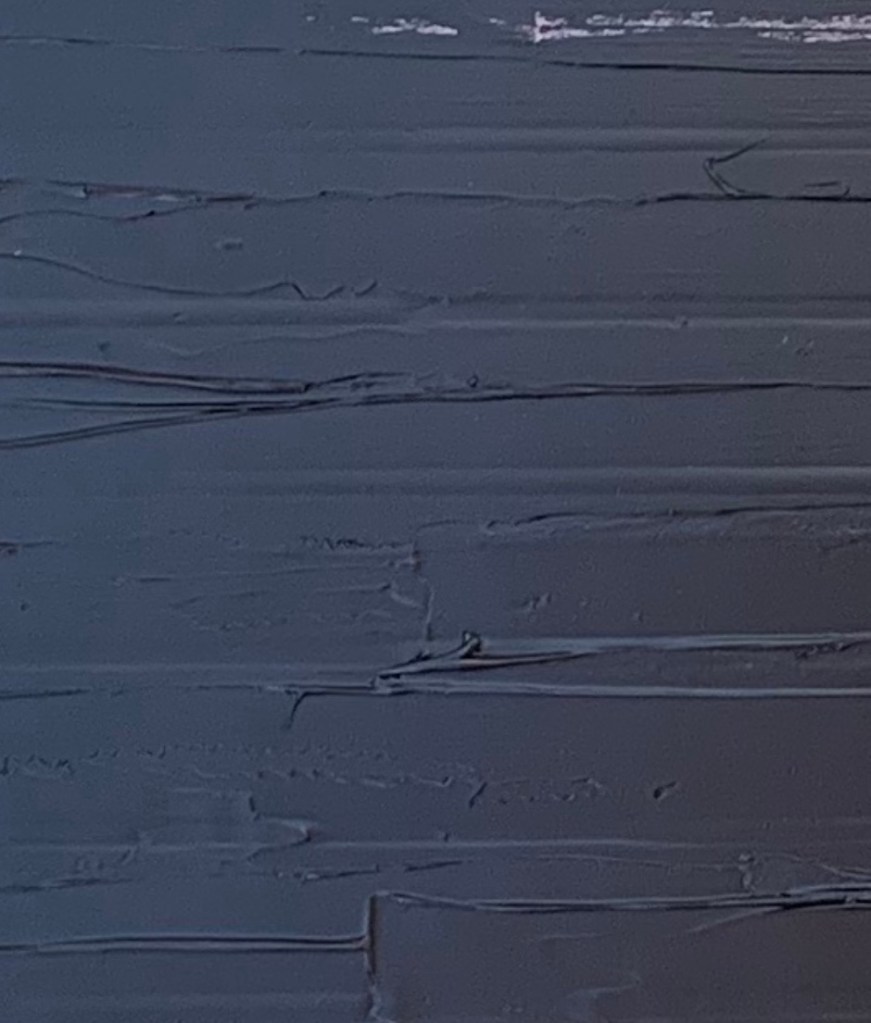
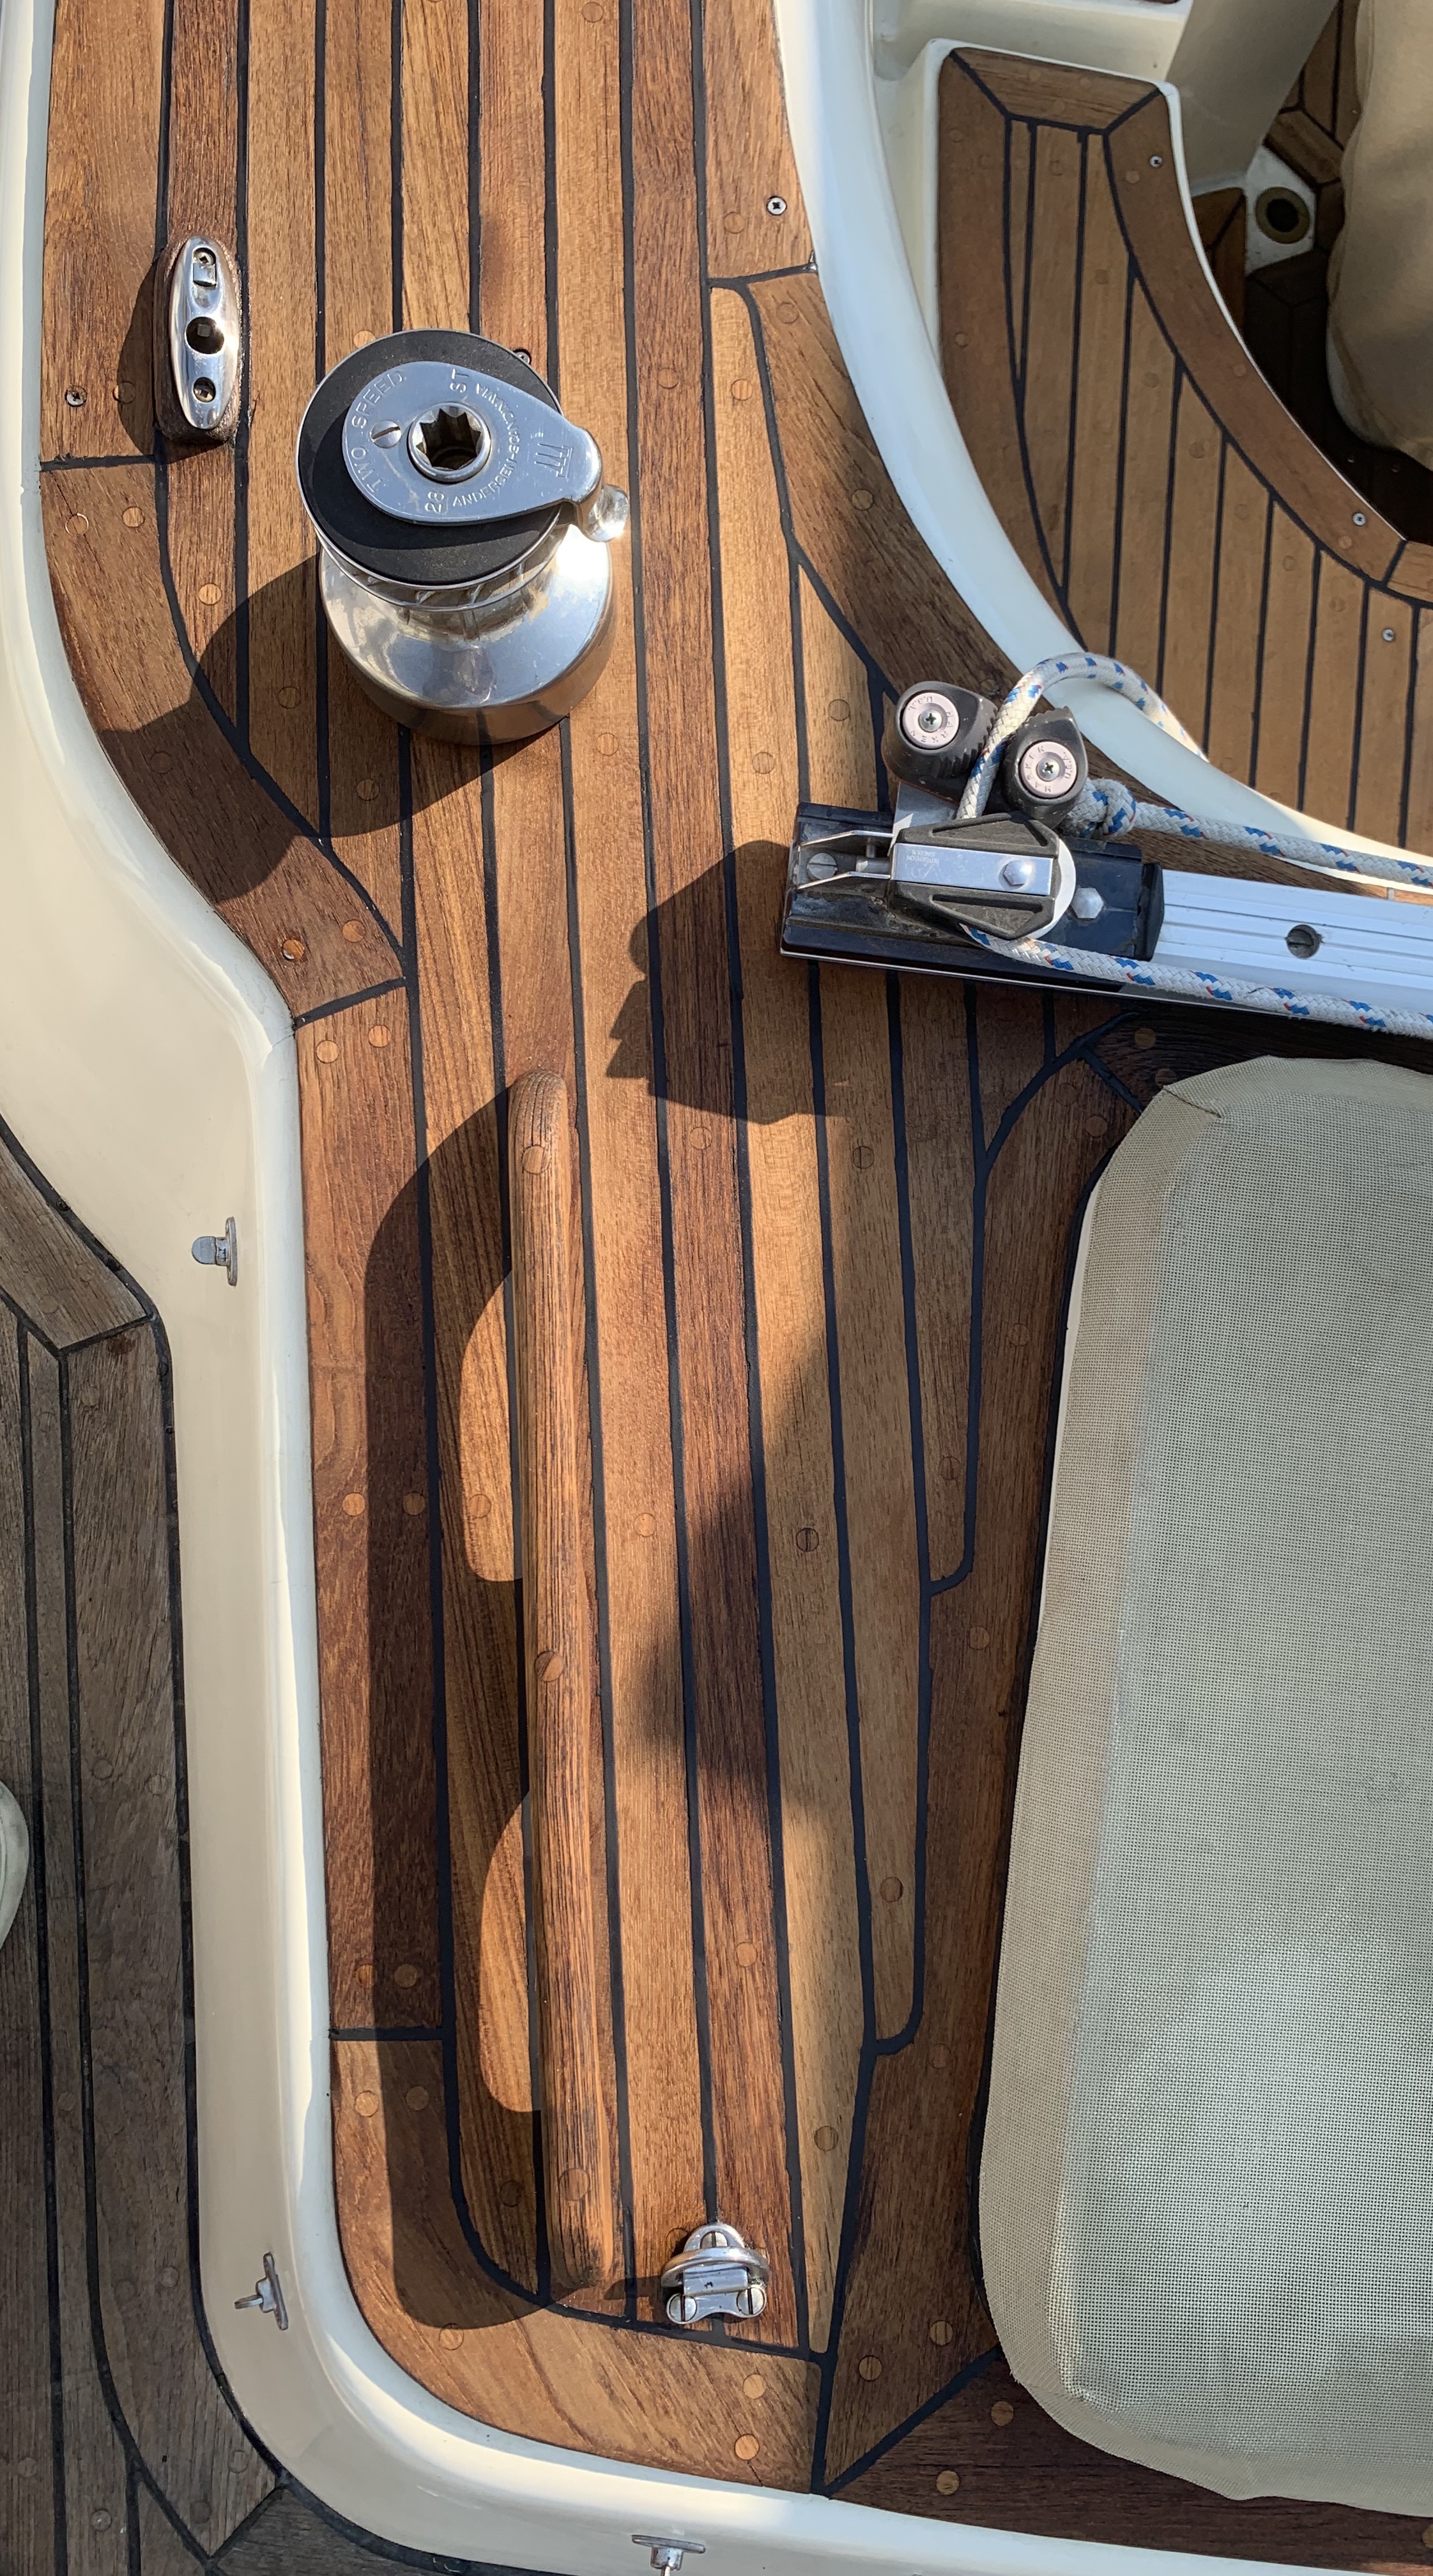
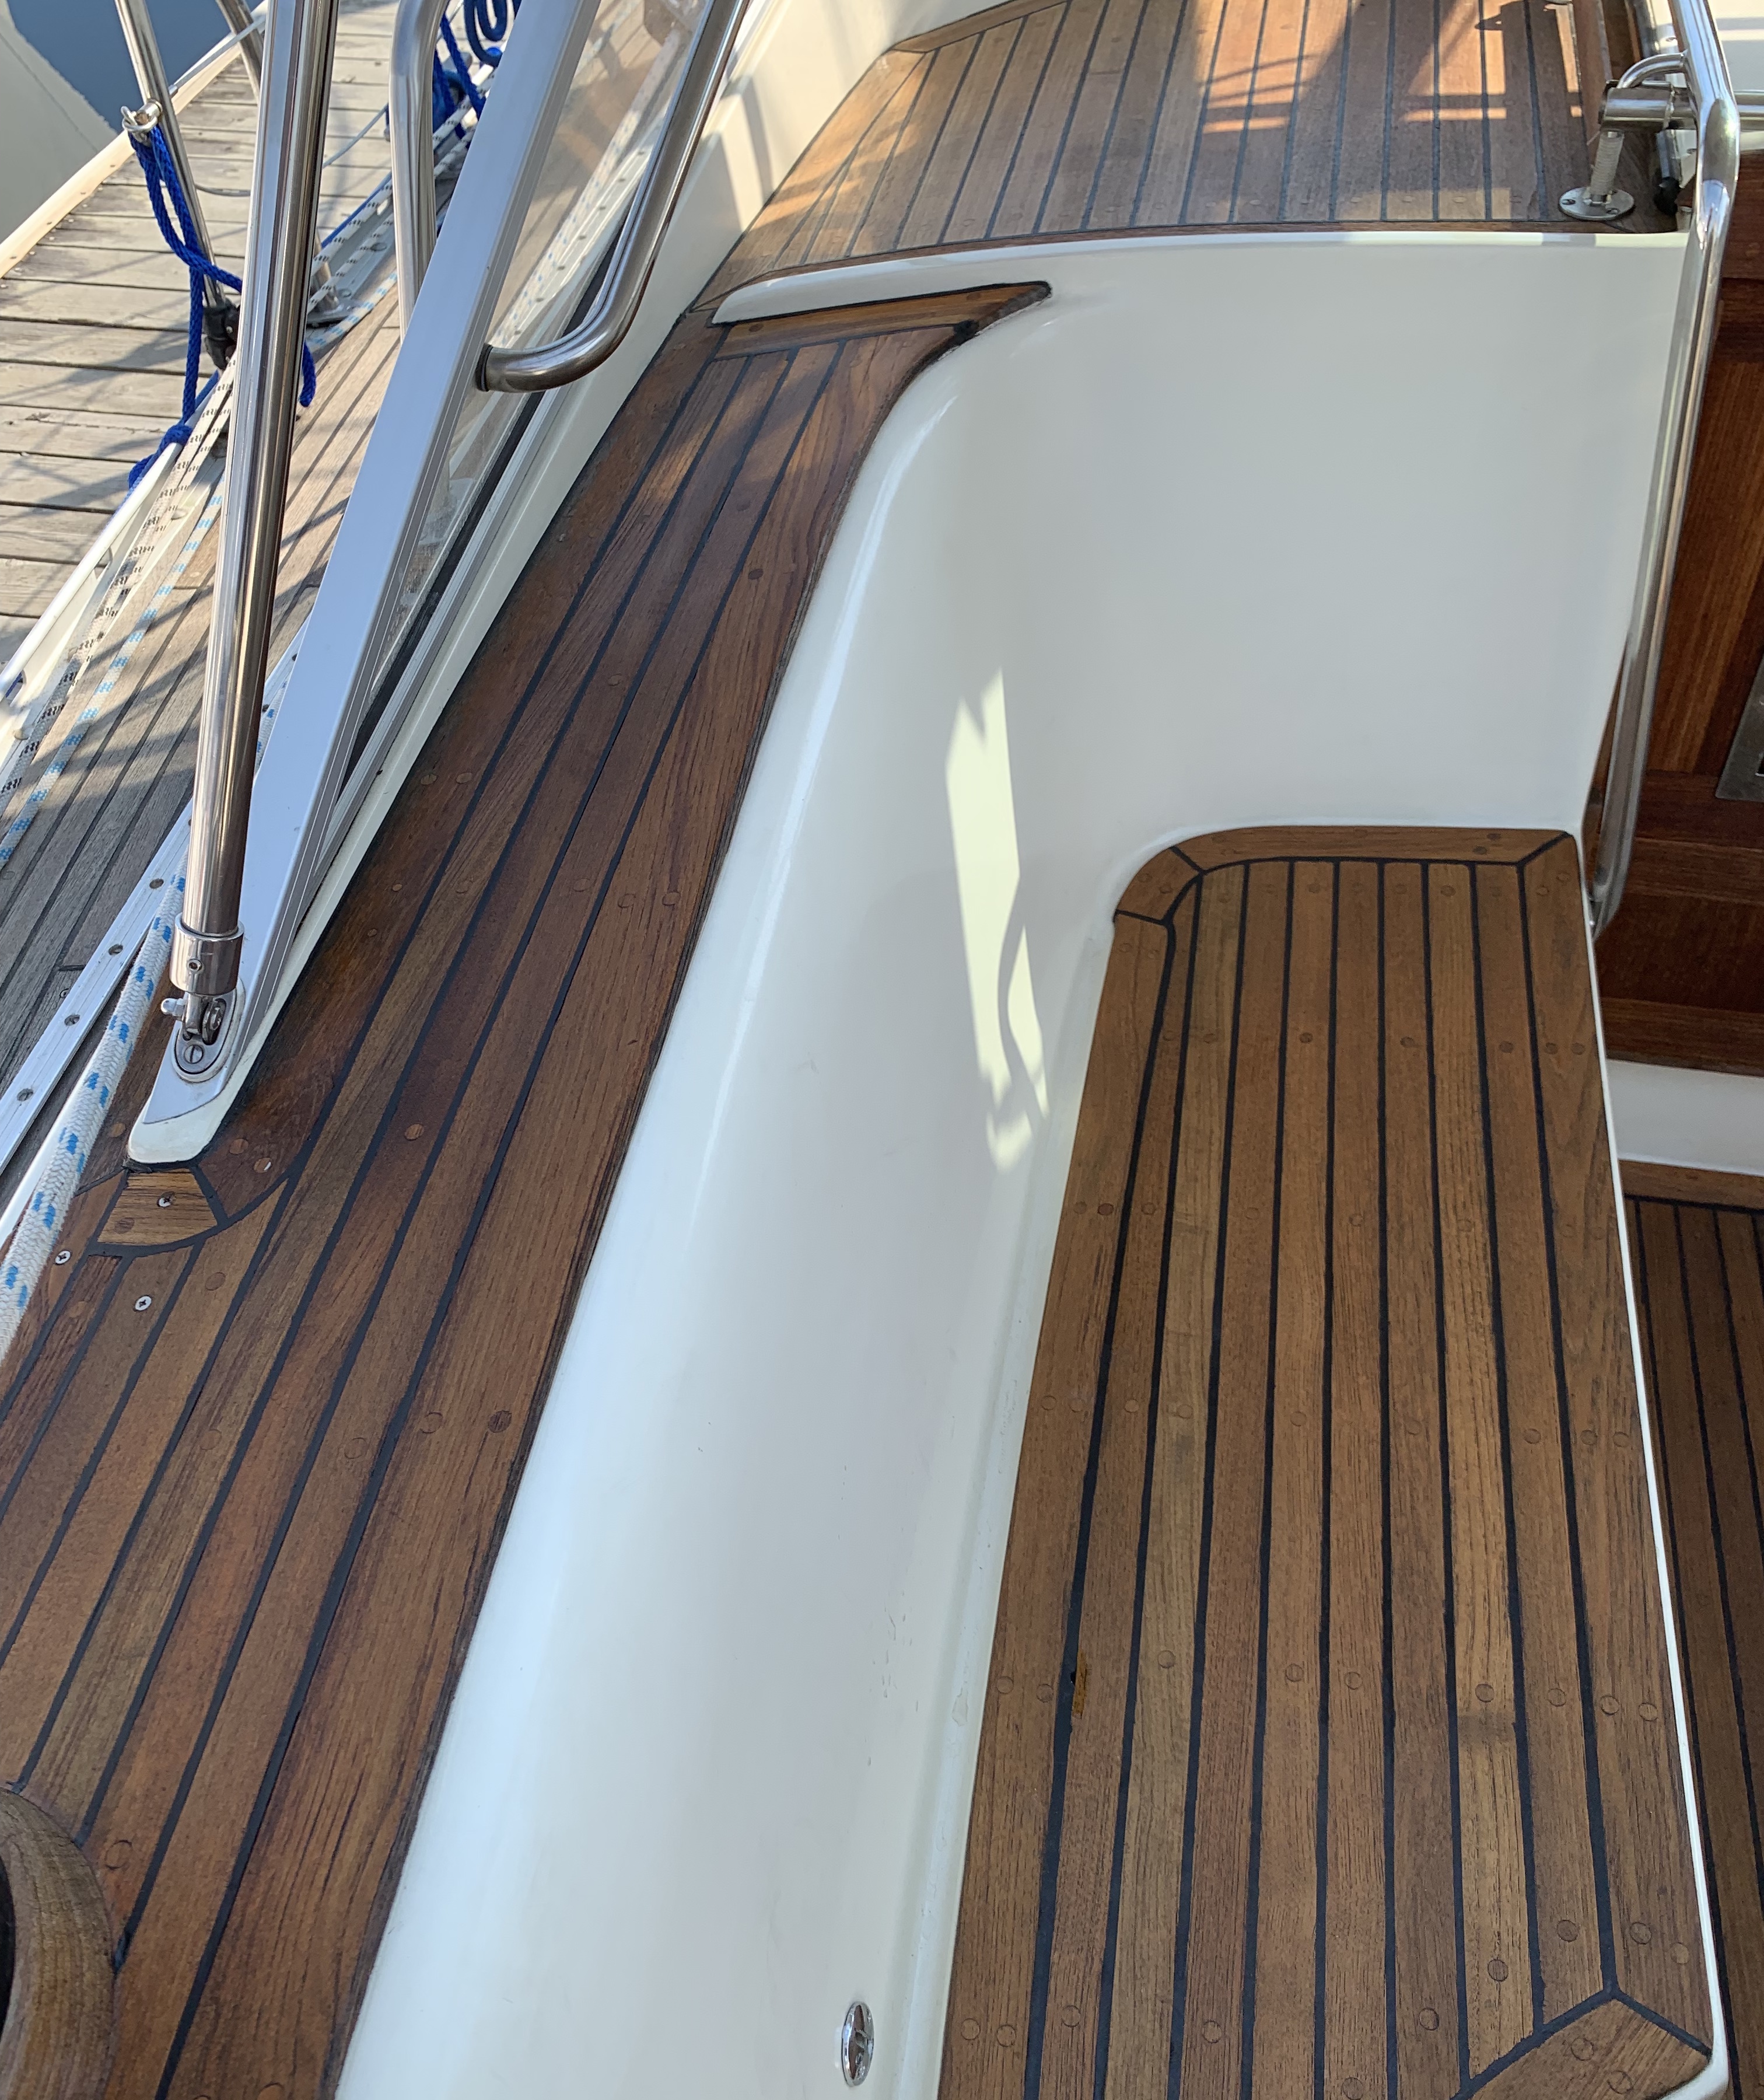
It takes approximately 48 to 72 hours for the caulk to cure in preparation for final sanding. Usually, the caulk is raised over the surface of the teak. The goal of sanding is to sand off the excess caulk and to get the two levels as close to one another as possible. I preferred leaving the caulk just maybe a fraction of a millimeter higher than the surface of the wood. After thoroughly cleaning up the most unimaginable horrid dust composed of teak and caulk the surface is ready for a light coating of teak oil if that is your preference.
If you haven’t figured it out by now, you need a great shop vacuum. That was part of my initial start up cost. Also, buy several really good filtration masks. You don’t want to breathe in this dust. It will kill you! A bit of caution….. if, in the process of sanding, you expose screws, these will ultimately have to be removed and the holes re-plugged after either a screw is inserted or epoxy is used to fill the screw hole to keep the teak affixed to the underlying fiberglass. More importantly, remember that metal filings, made of steel, are now in that dust. Wherever that dust lands there will be small bits of metal. Skiron has aluminum gunwales. Some of that dust landed in those gunwales creating a situation where dissimilar metals were in contact with one another in a saltwater environment. As you might have guessed, the aluminum developed little pits of corrosion. A couple of months after completing the project I was required to do some light polishing of the metal to remove the corrosion and then I applied a protective substance on the aluminum to prevent additional corrosion.
I estimate that it took about 70 hours to finish the job that I had set out to accomplish. It probably cost me a total of $1500 in tools and other related expenses. In essence, I paid myself nearly $15,000 for those 70 hours. I learned a lot. I felt that I took ownership of the vessel through this project. I am satisfied with the results. I know that there will be additional opportunities to do teak work in the future. I can’t say that I’m looking forward to it! But, if necessary, I will do it all over again….and probably be glad that I did.
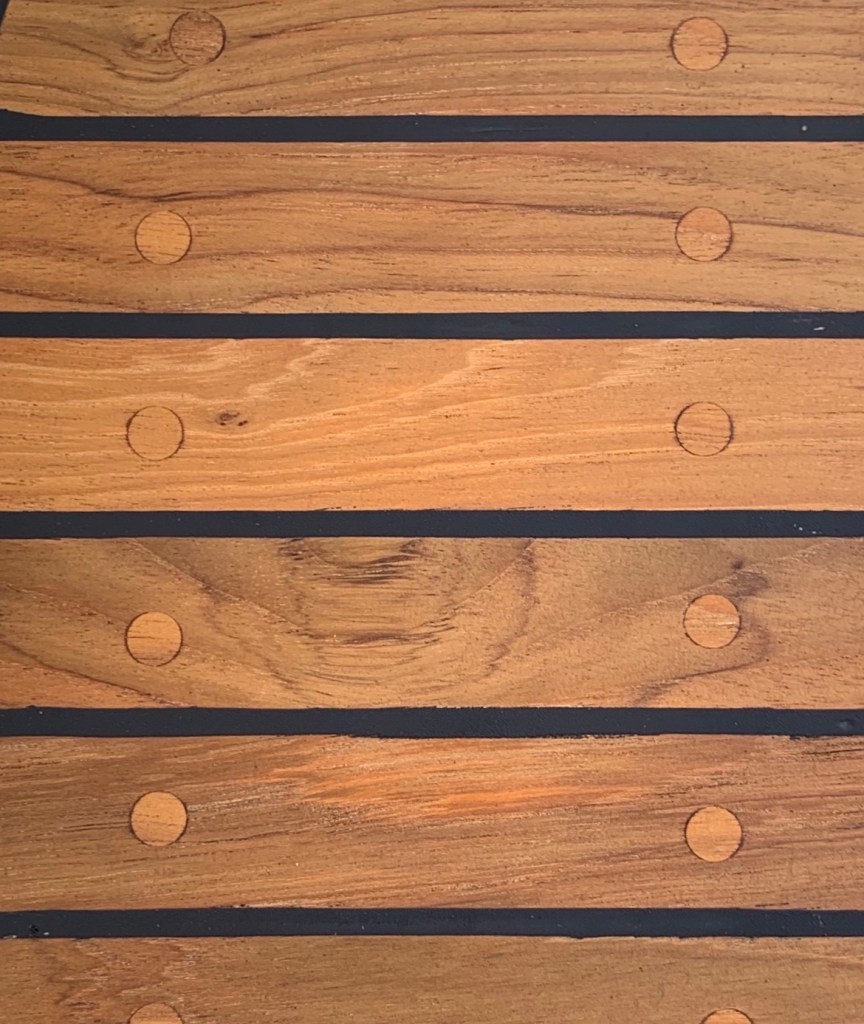
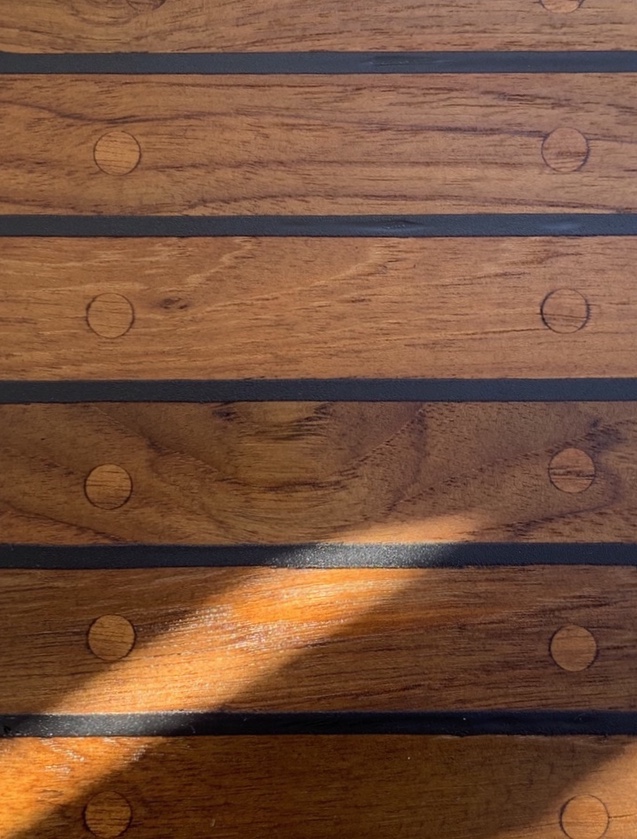
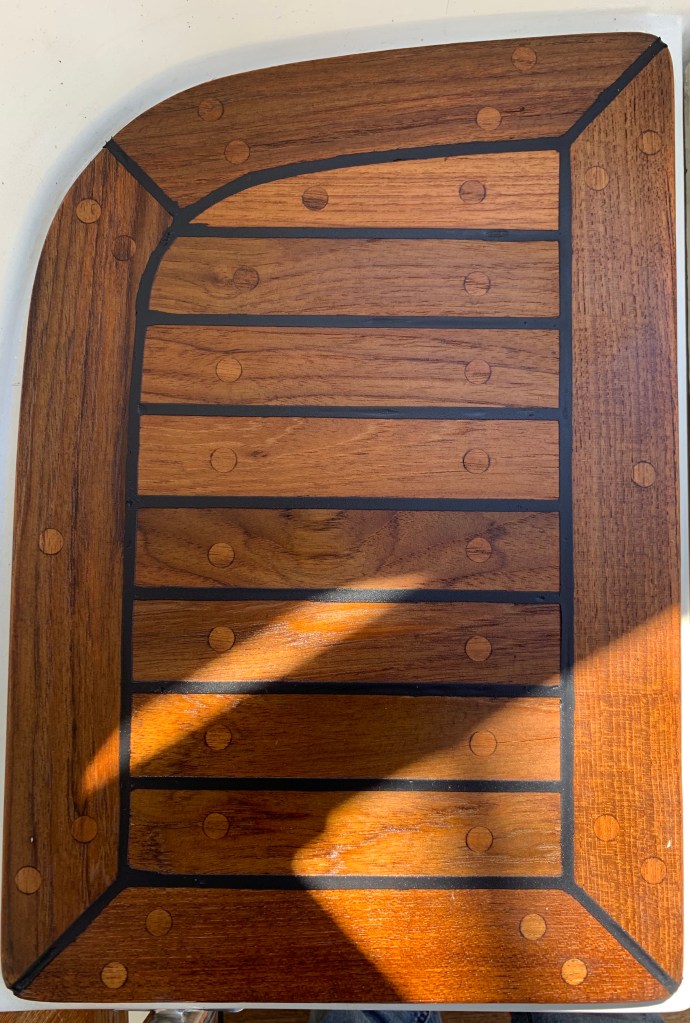
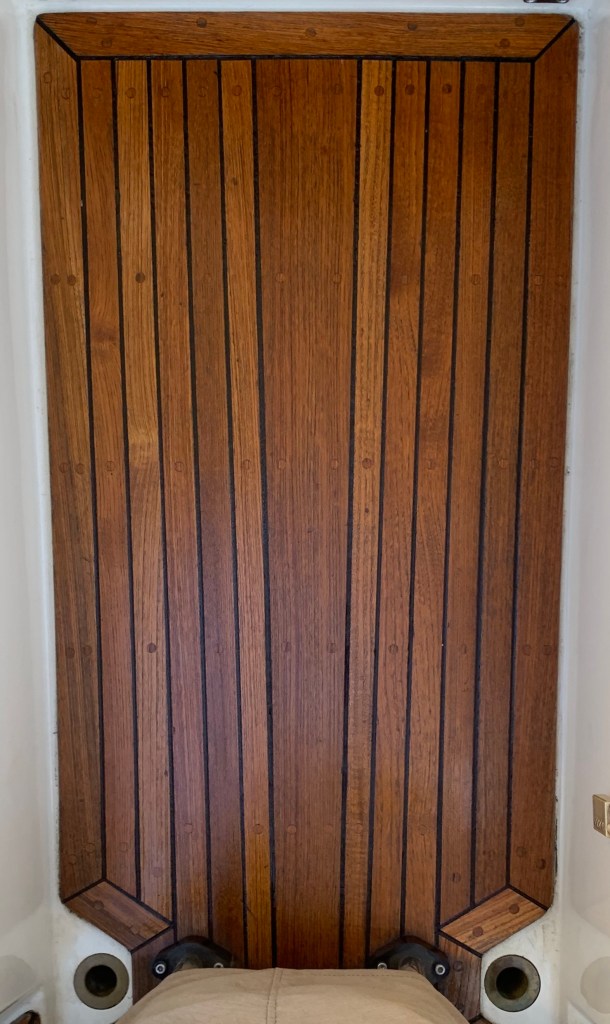
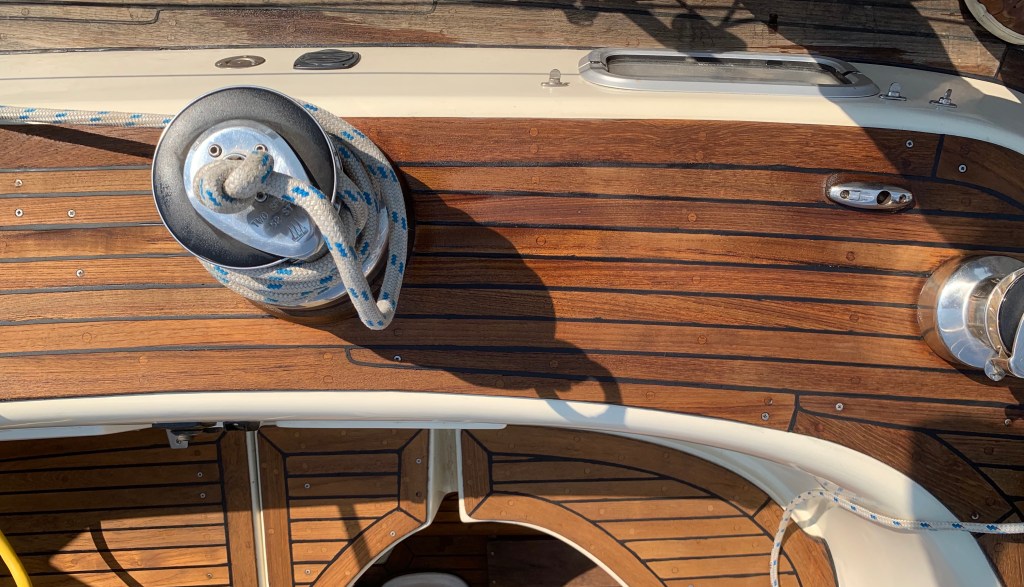
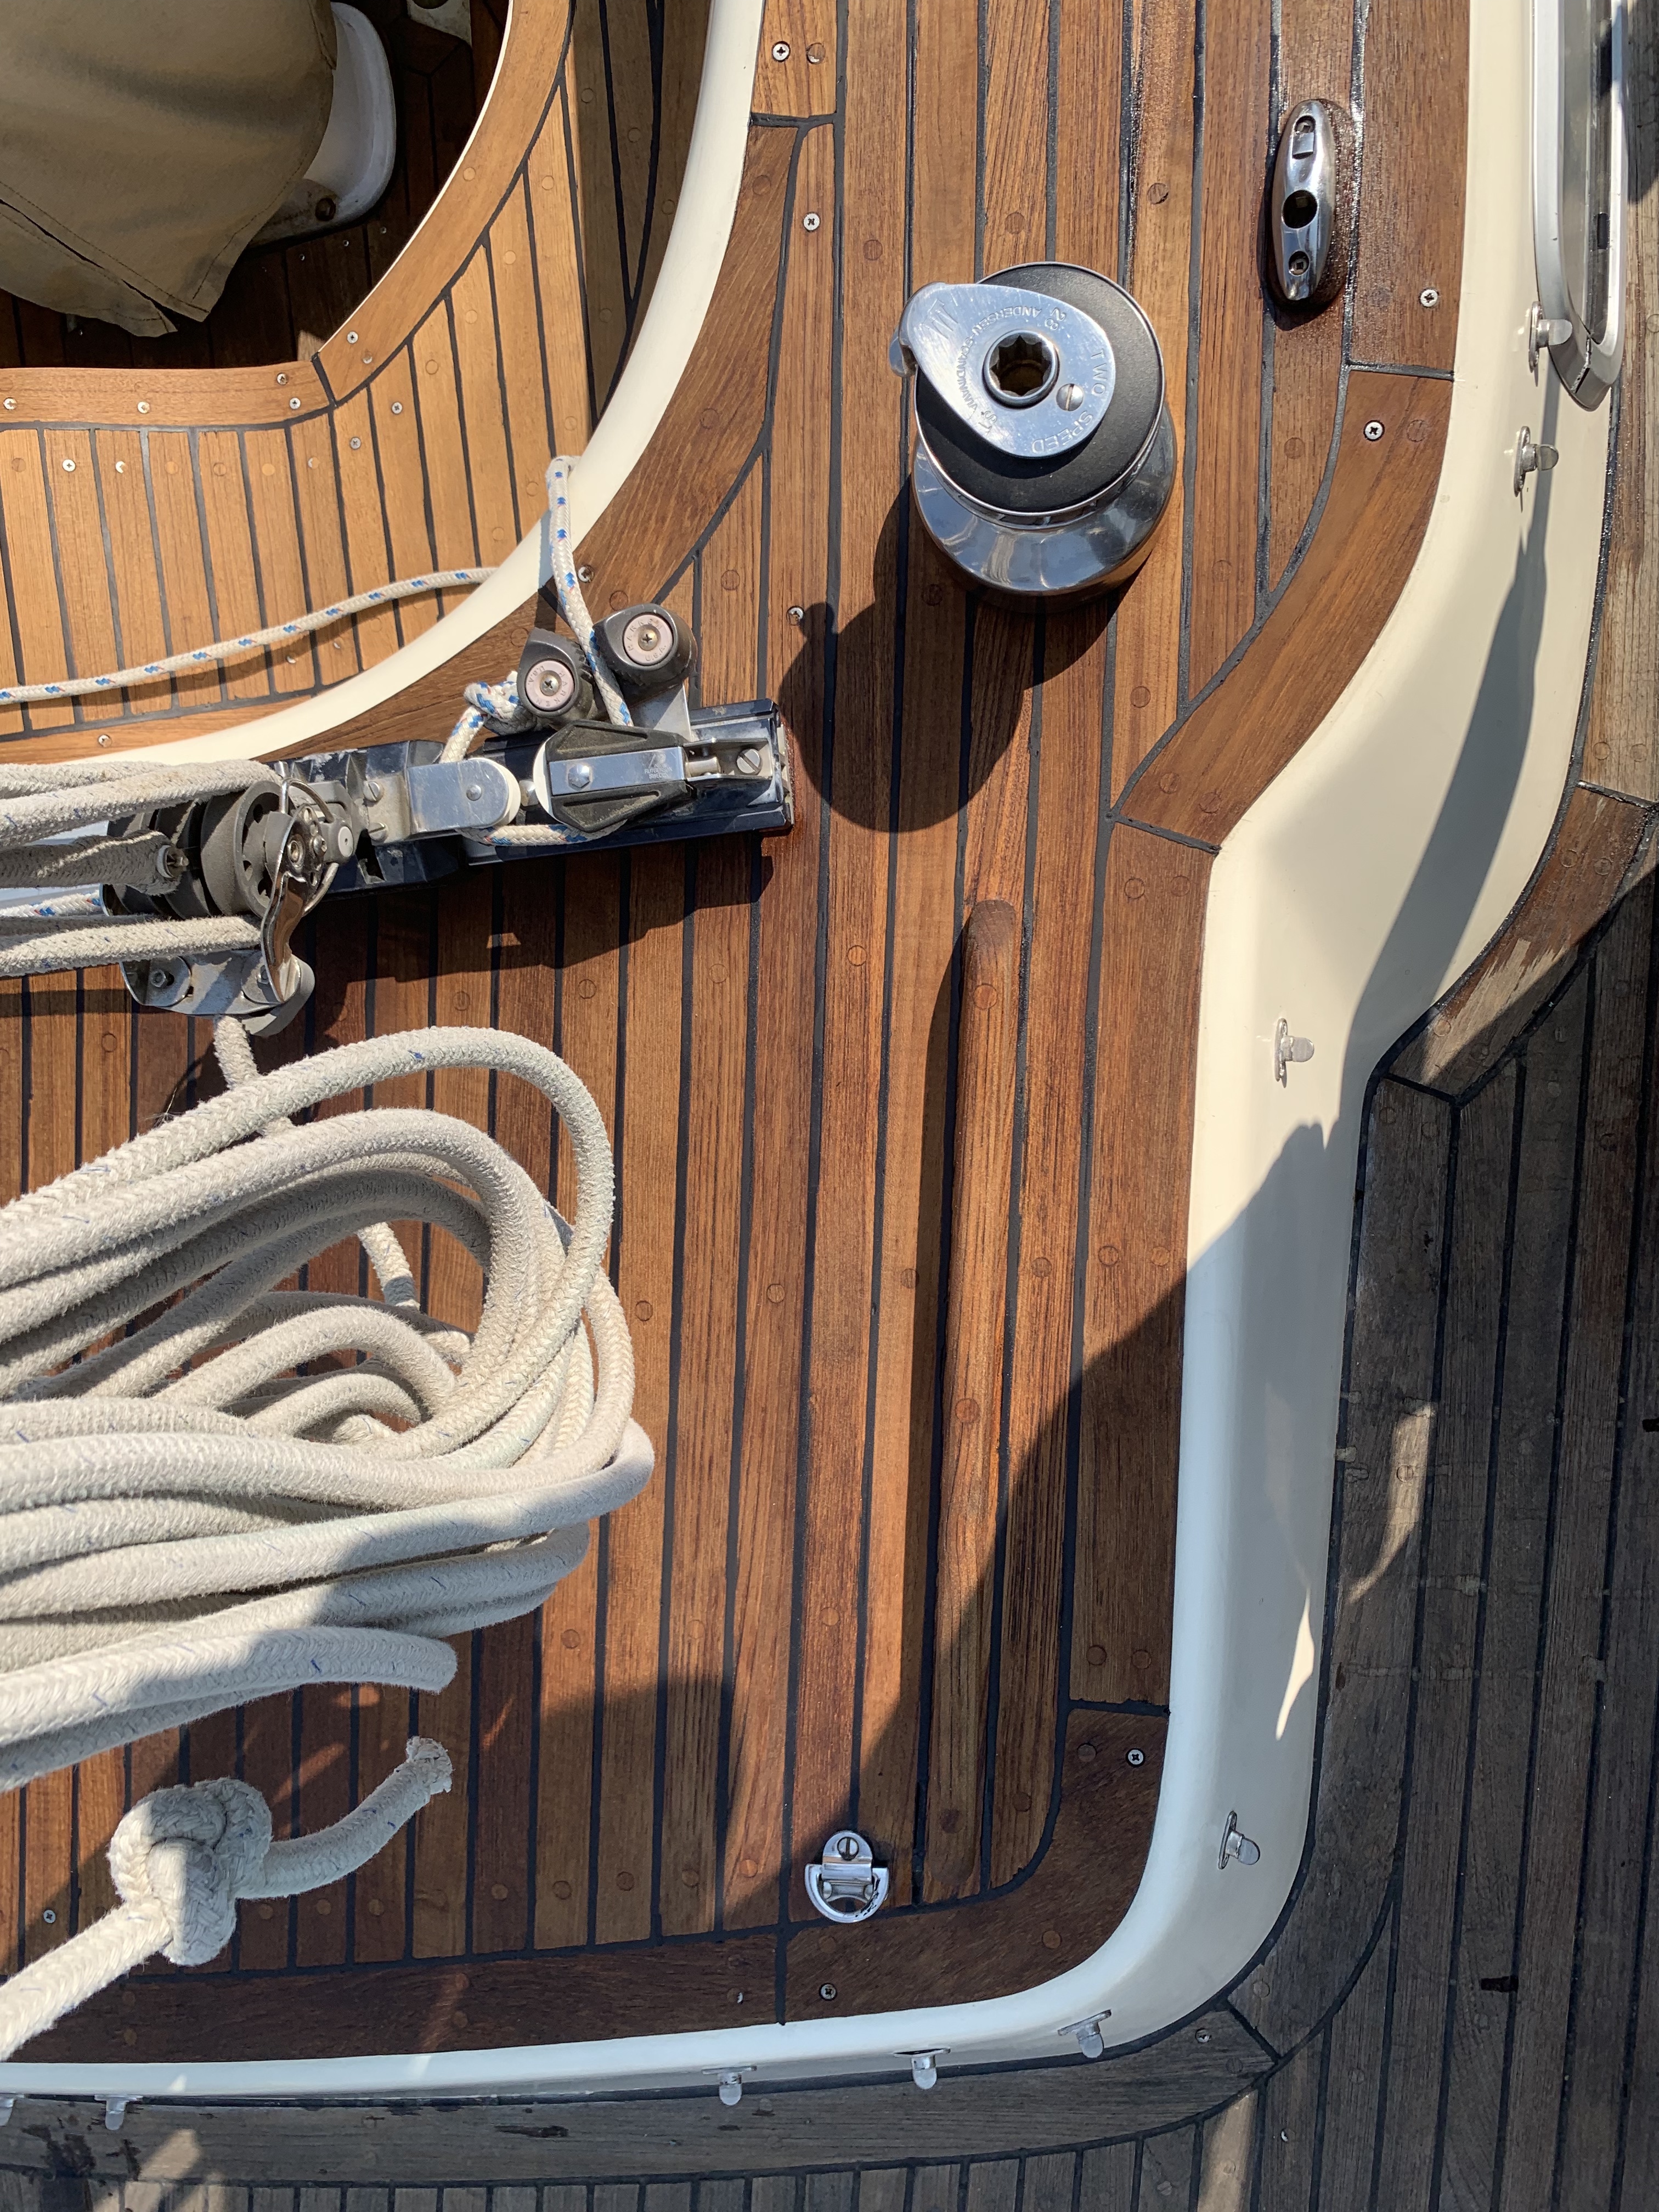
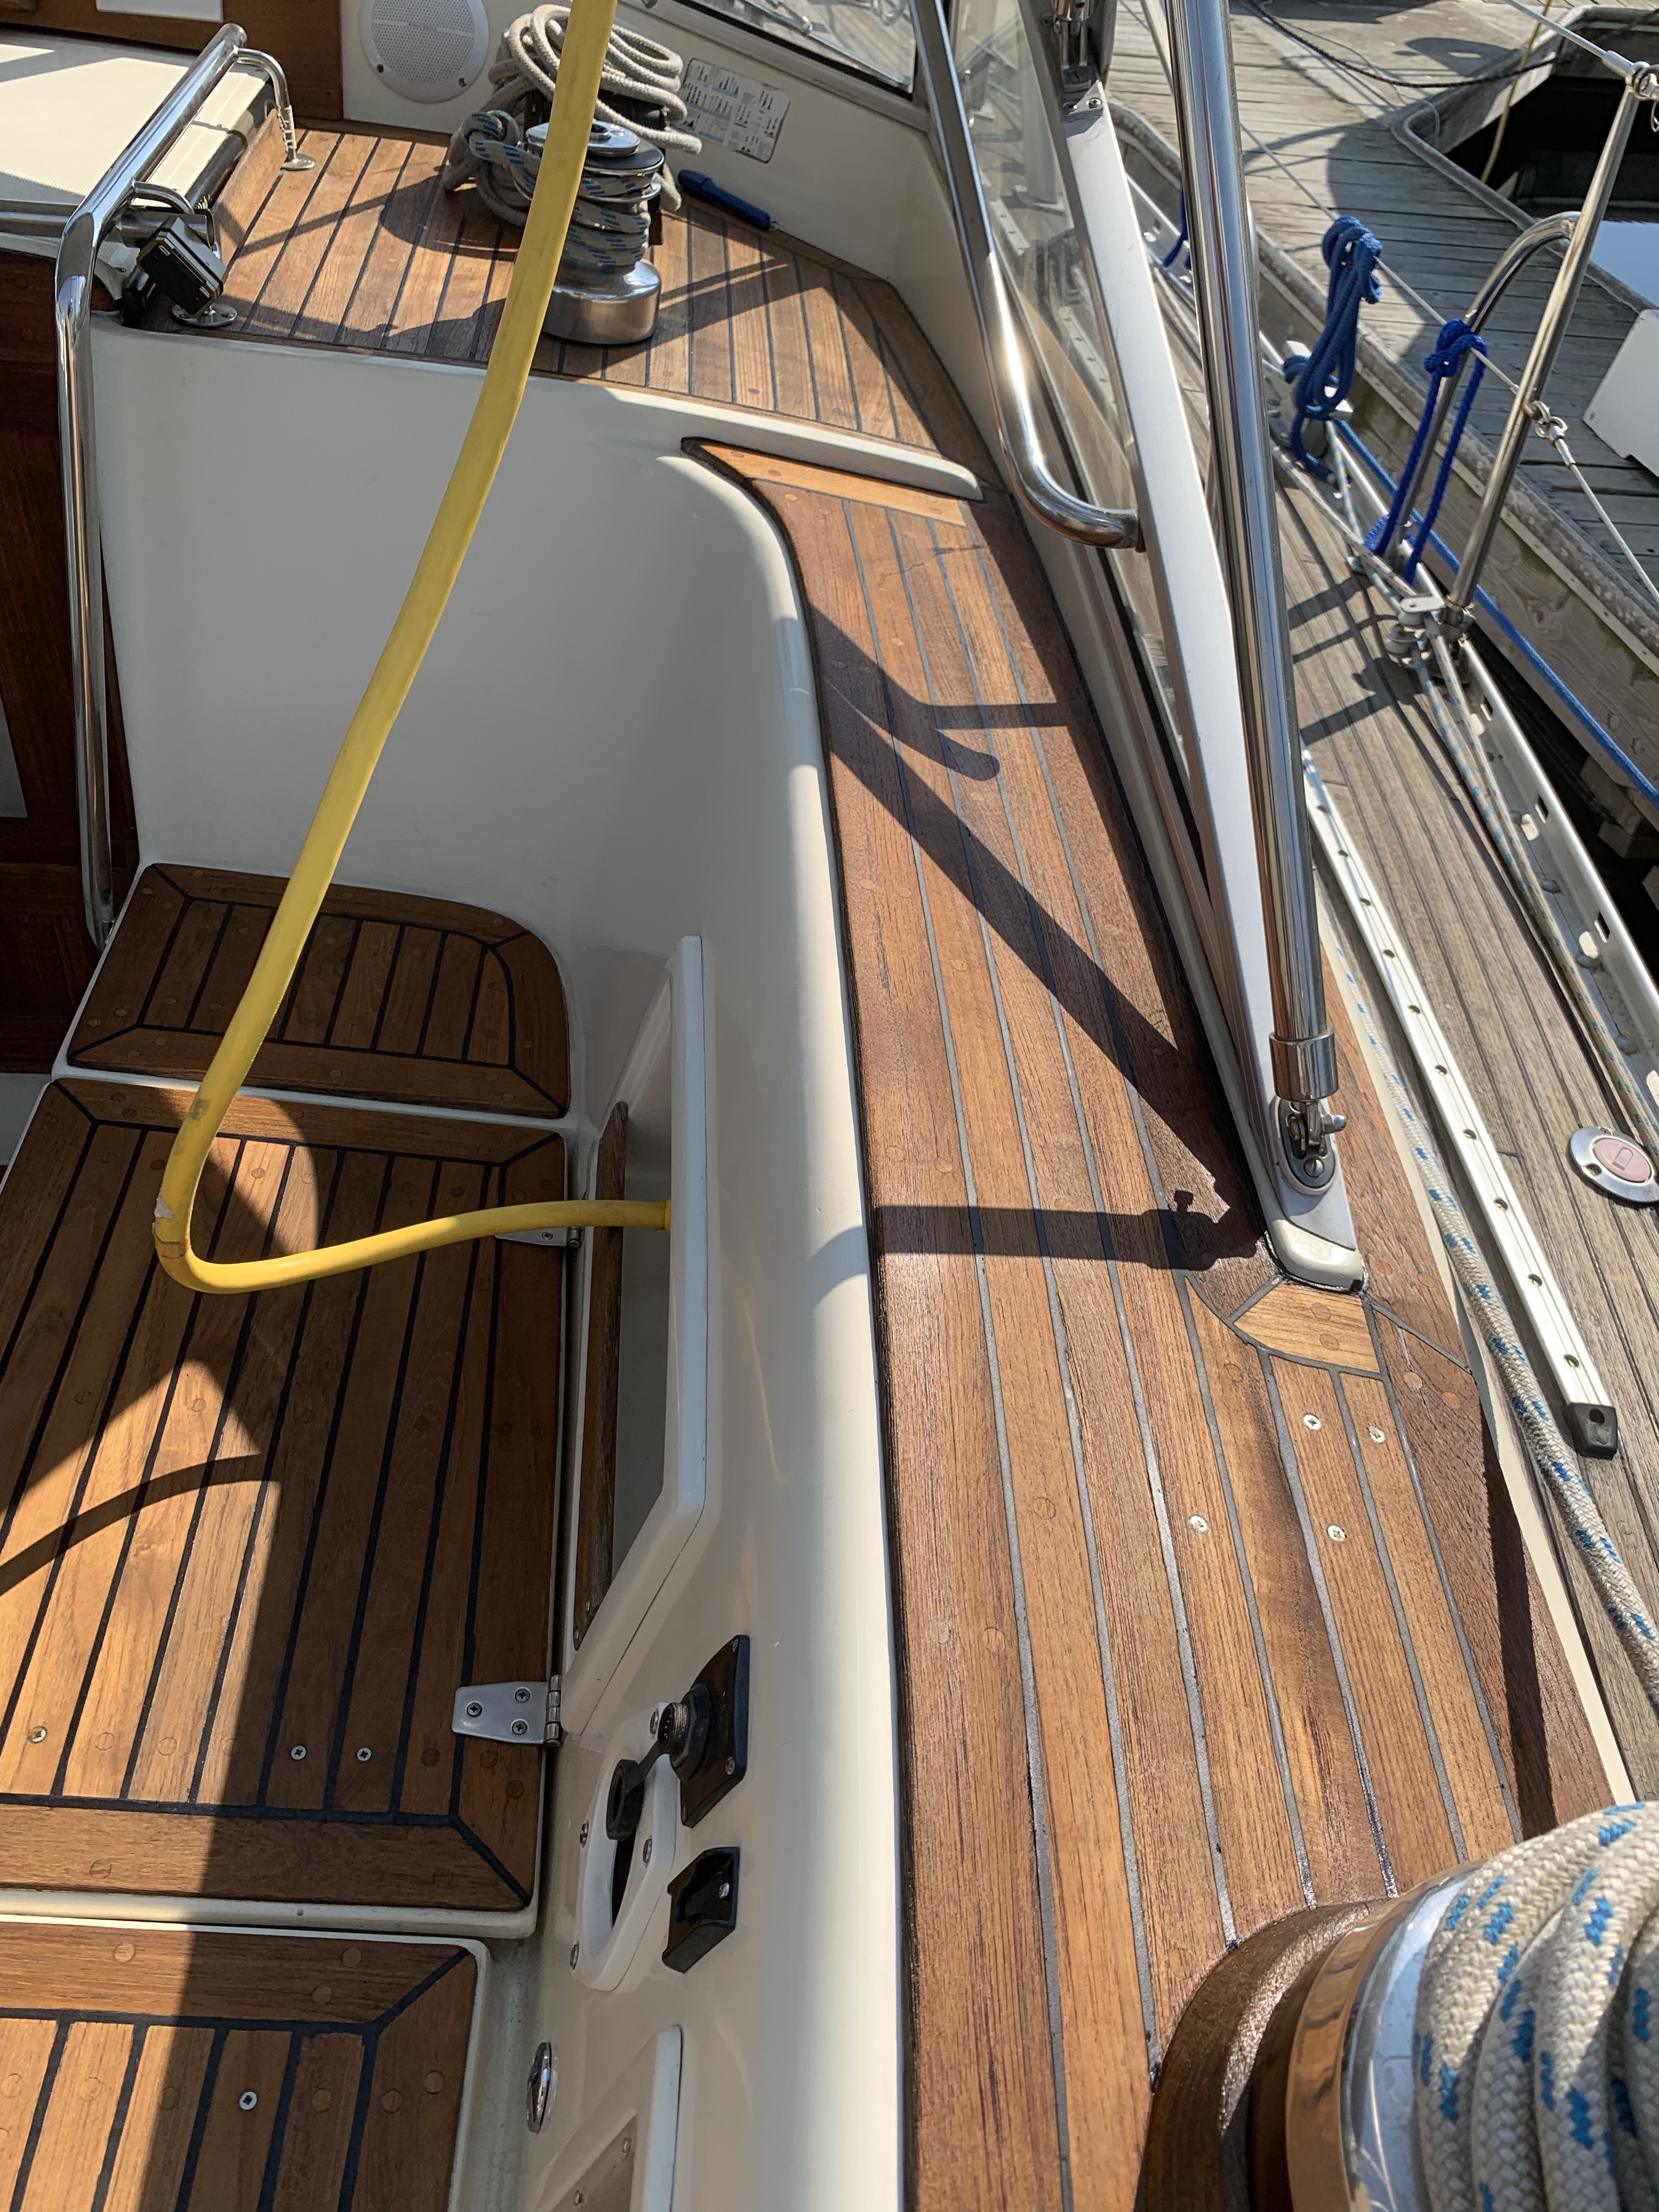
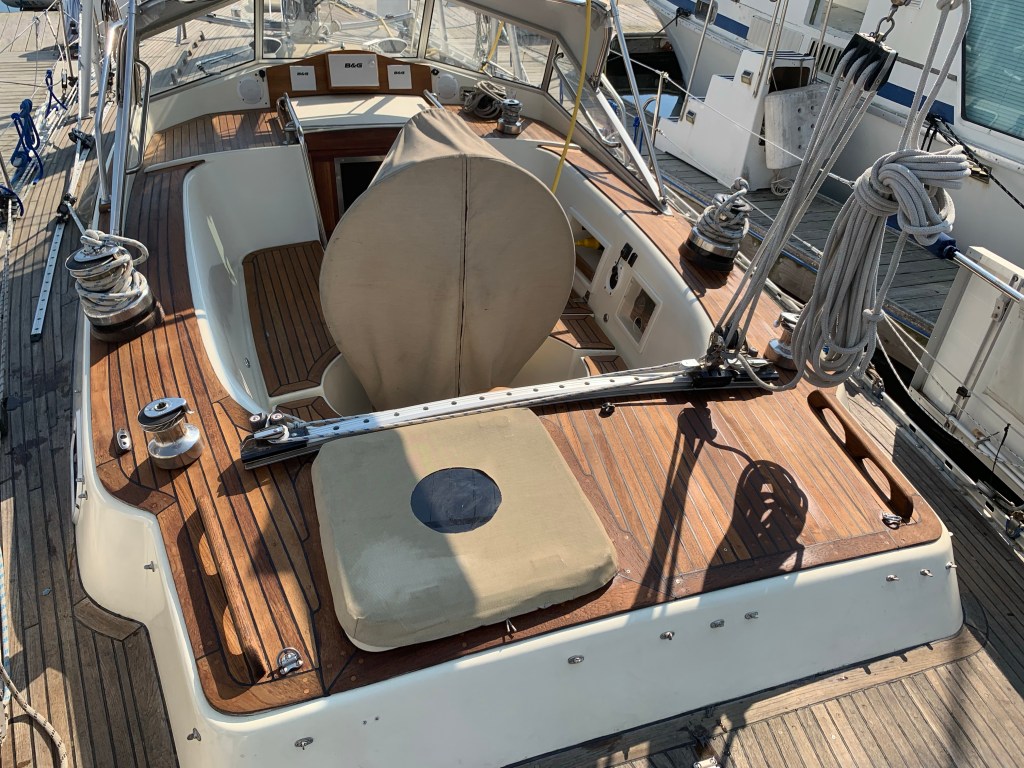
Here are some additional photographs of the completed project.


P.S. Wear old clothes….caulk seems to be attracted to them!


Meticulous work and beautiful results, but it does sound like an argument in favour of composite decks.
LikeLike